Saturday, May 29, 2010

"Consumer Reports" Bread


I know the title is less than romantic.
But I suppose that as far as foods go, bread isn't really at the top of the "romance" list.

This is, of course, from "Consumer Reports"- the independent/nonprofit magazine that publishes information on products it has tested for the public to bolster a more "fair" marketplace. It's actually pretty interesting... you can check out information on varied products such as cars, wine, toasters, GPS, paint, cell phones, and shower heads. I wonder if Ralph Nader subscribes? Maybe he doesn't need to... I bet he already knows everything.


Anyway, this is a bread that came from the magazine a forever long time ago.
They were testing white bread, of course, but they said that if you really wanted the best bread you should just make it yourself.
Mom did just that. She made bread. It's been the go-to bread recipe since somewhere between 1983 and 1985.


Since it makes 2 loaves, we usually do a cinnamon raisin bread variation with one of the loaves (sometimes both). It's like a giant cinnamon roll and usually disappears quickly!


I actually substituted one cup of AP flour for whole wheat this time. No problem, but I would not recommend substituting more than that as whole wheat has a different consistency than AP. Whole wheat is a heavier flour, which makes it more difficult for the yeast to cause it to rise. I think it's actually drier, too. The recipe isn't written for it, thus the non- recommendation for the full use of whole wheat in this instance, but a partial substitution is fine. It may also benefit from a longer rising time (I think I let these loaves rise an hour and a half each time).


Liquid temperatures are very important. If you have water that is too hot, you'll kill the yeast. If the milk/butter mixture is too hot, you'll kill the yeast. A thermometer is not necessary, but you will definitely want to feel any liquid before incorporating it with yeast OR yeast with it. Something around body temperature is what you want- we can safely say 85-110 degrees. Not cold, but you probably wouldn't feel anything very warm- and definitely not hot.


"Consumer Reports" Bread
makes 2 loaves

1 pkg active dry yeast
3 T sugar
1/2 c lukewarm water (90 degrees)
3/4 c whole milk
1/2 stick (4 T) butter
1 1/2 t salt
1 large egg, beaten
4 c unbleached all-purpose flour

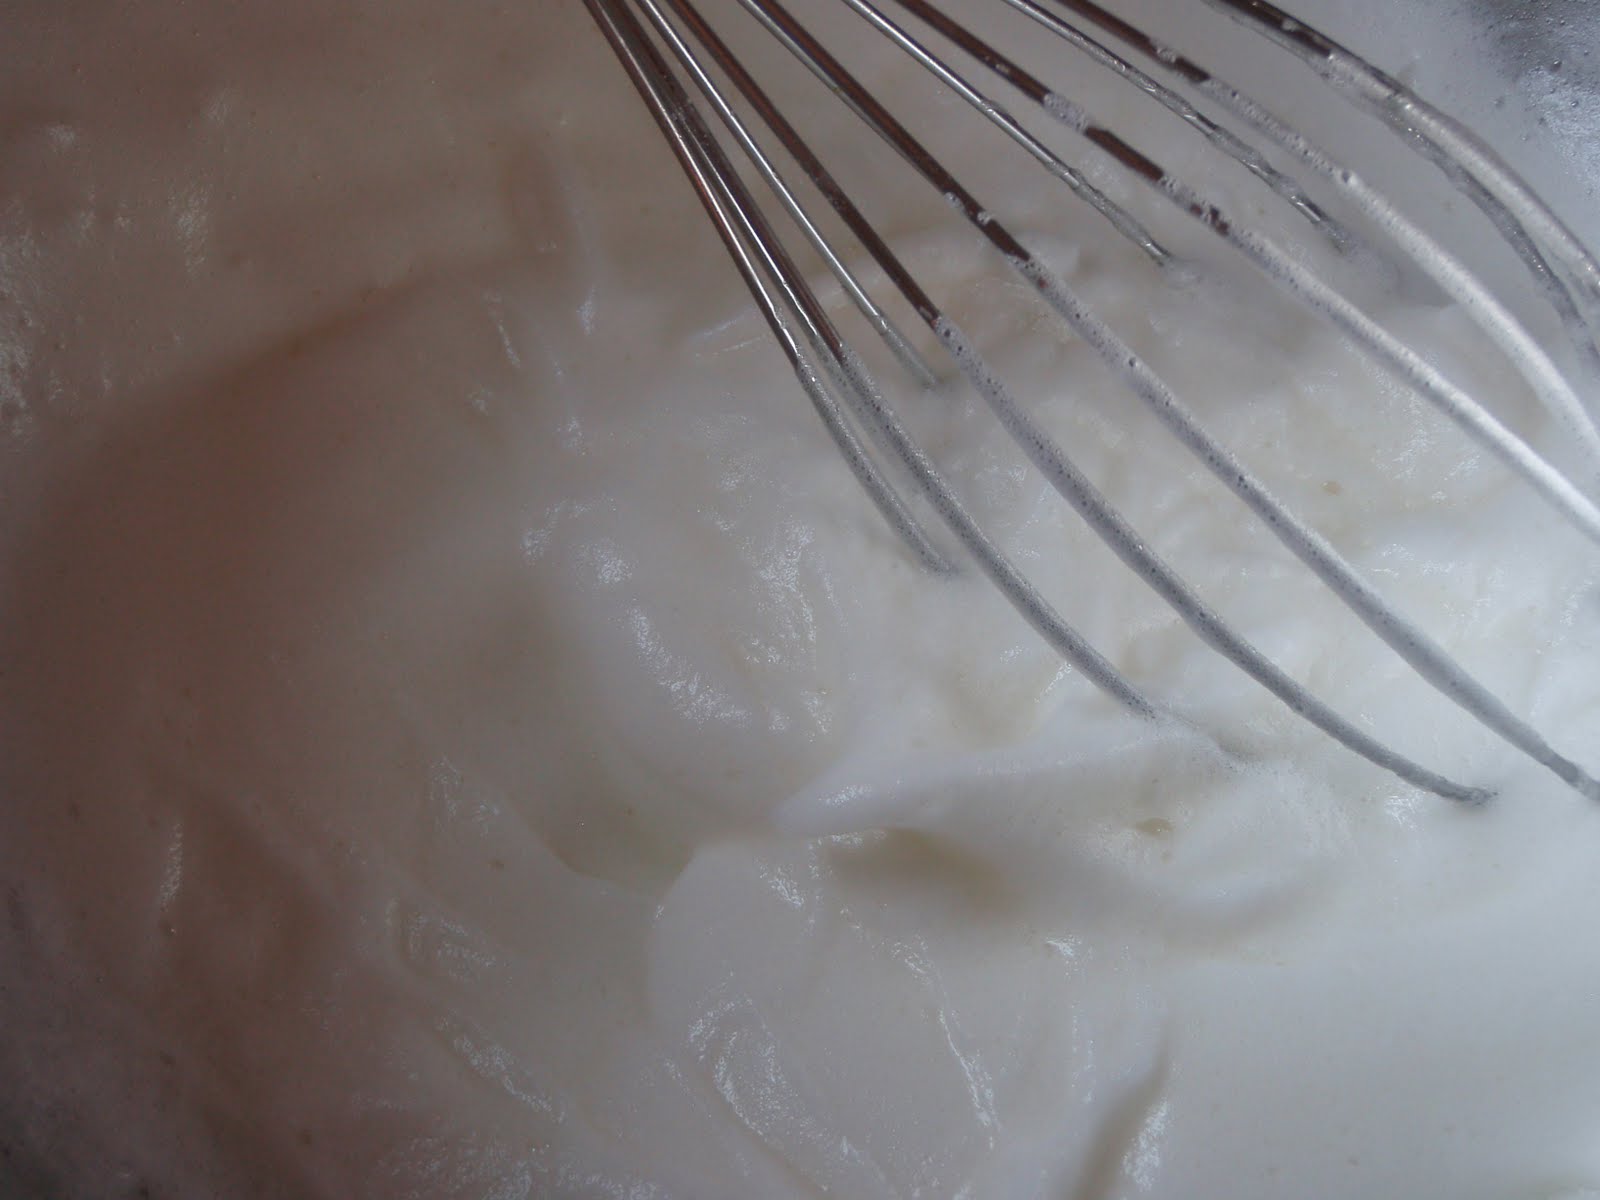
Place water in a small bowl. Dissolve yeast and 1 T sugar in water, set aside. Heat butter in milk until butter is melted, set aside to cool slightly.
Measure 2 T sugar and salt into a large bowl. Blend with a wooden spoon or spatula to combine. Add egg and 1/2 c flour and stir to combine. Stir in yeast and mix well (the mixture may be a little lumpy with the egg, but it will smooth out later). Add 1/2 c flour and warm butter and milk mixture and blend together. Add remaining flour (3 c) and stir to incorporate. The mixture may be slightly shaggy, at this point use your hands to knead a few times in to bowl until it comes together. Shape into a ball, oil or butter the top, and cover with plastic wrap or waxed paper as well as a towel. Place the bowl in a warm place (100-110 degrees) for about an hour, until doubled (sunny window, near the stove if you are cooking, on the porch in the summer as long as you aren't worried about wayward animals).
When doubled, punch down and knead. Divide dough in two and place in well-greased loaf pans (OR follow Cinnamon Raisin Bread variation below). Brush with softened butter, cover once again with plastic wrap and a towel and place in a warm location. Let rise until doubled (about an hour).
Preheat oven to 400 degrees. Bake loaves 20-30 minutes, until well browned and when bread makes a hollow sound when tapped.
Let cool in pans about 10 minutes, then remove loaves from pans to wire rack to cool completely.


Cinnamon Raisin Bread variation:
For each loaf of bread mix 1/3-1/2 c sugar with 1 t ground cinnamon (or to taste).
Roll 1/2 recipe of dough out onto clean surface into an approximately 9x12 inch rectangle. Don't use extra flour if you don't need it- the dough should be slightly tacky in texture. You want the dough to stick to itself when you roll it up.
Spread approximately 1/2 c raisins onto dough and sprinkle with cinnamon sugar. Leave approximately 1 cm border without sugar on both of the long sides and the far short side. Leave approximately 1 1/2 inches of sugar-free dough at the short side closest to you smooth the seam a little to make sure the dough sticks to itself. Starting at the far short side, roll the dough as tightly as possible. Pinch and fold the ends so that raisins and sugar doesn't spill out and place the bread seam side down in a buttered loaf pan. Continue with recipe as written.


Tuesday, May 25, 2010

Strawberry Mini Pavlovas with Cardamom Syrup and Creme


When we were younger, my older sister and I were almost more like little boys sometimes.
We didn't usually want to wear dresses, lots of outdoor play, tree climbing, sandboxes, constantly playing with the boy down the street and his imaginary enemy who lived in the sandbox (play with this boy also includes tuning in to heyday WWF, Atari, GI Joe, and He-Man... both action figure and live-action), skinned knees, sprained ankles from jumping off swing sets, bike/big wheel riding and roller skating up and down the street, Evil Knievel activities that weren't really very risky, an actual attempted dig to China that was pretty short lived because it was in fact slow and boooooring, lightening bug and grasshopper collecting, playing with the tar in the street when it bubbled up on really hot days...

There was the occasional Barbie (one each, not a zillion) and My Little Pony activity going on though too.
We had a pool in the back yard and would swim every night in the summer before going to bed.
All fun.

In the summer we ALWAYS had strawberry shortcake.
Not with meringues, but with Bisquick shortcake.
I'm sure meringues were too time and attention consuming for Mom at the time, and why would kids need extra pure sugar? In fact, there were many things we weren't allowed to have with extra colors and sugar... "fun" cereal and fake juice, for instance. We ate Cheerio's for breakfast.

I'm sure we had meringues on occasion, but not often, and I'm not sure it was ever as a part of strawberry shortcake. However, meringues are beautiful, can be impressive, and are much more sophisticated than Bisquick shortcake.

No matter what, meringues are a good thing to have up your sleeve. Not too hard to make, delicious, gorgeous, and versatile.


Soft peaks ready for sugar...


Stiff, glossy meringues ready to be baked!


This recipe will make six, but it's pretty simple to increase the amount when making meringues.
Generally speaking, one large egg white will yield two meringues along with 1/4 c sugar (yes, I know this recipe isn't exactly the way it goes, but that bit of information is just something to keep in the back of your mind). So, for eight you would use four whites and 1 cup sugar...

There are so many recipes out there that use egg yolks. This is a great way to use those extra whites you have left over!


The creme looks a little "peppered" with the cardamom in it (I don't think I had ever put anything but sugar- and sometimes vanilla- in cream).

I think this may become one of my favorite new desserts...
when strawberries are in season.
AND it has cardamom (yay!)


Ok, so I had to change the name- to me, this is what they are (and it sounds better).

Strawberry Mini Pavlovas with Cardamom Syrup and Creme
(AKA "Strawberry Clouds" from Gourmet Magazine, May 2006)
makes 6

3 large egg whites, at room temperature 30 minutes
1 c plus 2 T sugar
1/2 t ground cardamom
1 lb fresh strawberries, washed and thinly sliced (about 3 c)
3/4 c well-chilled heavy cream

Preheat oven to 190 degrees F (mine will not do so, so I preheated to 200).
Beat egg whites with a pinch of salt on medium speed in an electric mixer fitted with whisk attachment until soft peaks are formed. Reduce speed to low and gradually add 3/4 c sugar while continually beating whites. When sugar is incorporated into whites, increase speed to medium and continue beating until whites hold stiff, glossy peaks.

Line a baking sheet with parchment paper("curled" side down and with a small dollop of meringue to "glue" down each corner of the paper) and form meringue into six mounds about 2 inches apart. Using a soup spoon, swirl mounds into 3 1/2-4 inch discs with 1 1/2-2 inch wide indentation in the center.

Bake meringues until dry, but still white (1 1/2- 2 hours depending on oven temperature). Turn off oven and let meringues cool in oven for an hour. Remove pan from oven and place on metal rack- let cool completely.

While meringues cool, make cardamom syrup. Mix 5 T sugar and 1/4 water with 1/4 t ground cardamom in a small saucepan. Stir until sugar is dissolved and bring to boil. Remove from heat and pour over strawberries. Gently mix to combine.

Whisk cream with 1 T sugar and 1/4 t cardamom until soft peaks form.

To assemble, pour 1/4 c strawberries and syrup over each meringue. Top with cardamom creme and then divide remaining berries among tops of meringues.
Serve immediately.

Friday, May 21, 2010

Preserved Lemons


Preserved lemons are something I had heard and read about. I wanted to try them, but never really got around to it until now.


They're supposed to be essential for Moroccan and North African cuisine, but anything lemon is fine by me.
They can be used in many things: tangines, cous cous, with lamb, chicken, fish, vegetarian dishes, with a vinaigrette, in a sauce, in salad, juices and pulp with a marinade...


I think some would be great finely diced and stirred into a basic risotto, or basmati rice or whisked in with a little olive oil and spooned over asparagus.

I looked at several recipes and things look pretty much the same recipe-wise.
It's easy: lemons, salt, and a jar.


When pickled, you can use the whole lemon (or whatever parts you choose)- just chop it up and mix it in to whatever you're making... but I have seen that most recipes call for you to rise them of excess salt before using.

This is what they looked like after a month:


I know, not gorgeous.


Finely diced and mashed lemon.


You will want to use smaller lemons (the huge ones usually have a thick pith) which are heavy for their size (hopefully they have a lot of juice).

I used a 1 1/2 L jar for this and was able to accommodate 12 lemons (plus a bay leaf, 5 peppercorns, and a cinnamon stick). They are easier to pack into the jar if you soften them by rolling them on the counter a bit (before cutting them, of course). When placing them into the jar, don't be shy about squishing them so they all fit and will release juice. You want the salty juice to cover all the lemons. Of course, you do not have to use a full recipe- just choose an appropriate-sized jar for the number of lemons you would like to preserve.

Preserved Lemons

12 lemons (you will probably need a few more for juice)
kosher salt
(optional spices: any combination of a cinnamon stick, a bay leaf, a few black peppercorns, a few coriander seeds, a few cloves, a small dried chile)

Pour 1 T kosher salt in the bottom of a glass jar.
Cut off a little of each of the ends of the lemons and then cut lemons from one end to the other in an "X" shape (over a plate so you don't lose any juice), but leave it whole and connected at the far end by about an inch (it should look like a flower with 4 petals). Pack each cut lemon with at least 1 T salt and reshape.

Place/pack lemons in jar and sprinkle salt between layers. Squeeze layers down so that lemons are packed and juice is extracted. In the end you want the lemons to be submerged in salty lemon juice. If they are not, add extra lemon juice, but leave a little air space between lemon juice and the top of the jar.

Leave the jar on the counter at room temperature and shake daily for a month. You may have to open the jar and stir a bit and re-submerge some of the lemons from time to time. If you can, occasionally let jar sit upside-down (make sure the seal is tight!). When the lemons are soft and the insides jammy, the lemons are done. Refrigerate and use as needed.

* Before refrigerating I poured a layer of olive oil over the top to help protect it.
They should last a year, refrigerated. Make sure when stirring (and whenever you take a lemon from the jar) to use a very clean utensil.

While searching for other recipes that used preserved lemons I found this one for Spicy Crab Spaghettini with Preserved Lemons... and I'll probably have to make it for dinner some night. However, I was reminded by someone that it might not be such a great idea to eat crab right now with oil spill issues. Lobster would be ok too, right? Shrimp?

Tuesday, May 18, 2010

Polenta Cookies


Once upon a time Mom and I were in the Tower of London. Not as residents, just visitors. It hasn't been used for that since WWII, I think.
Beautiful views and right off the Thames and next to the Tower Bridge (the original London Bridge is in Arizona, bought by a man who thought he was buying the beautiful Tower Bridge. Come on, what do you do with a massive bridge? Put it in the back yard?). I suppose there are those who have developed a business of selling oceanfront property in Arizona...


Back to London...
It was pretty neat- guards, Beefeaters (or Yeomen Warders), crown jewels, plenty of armor, ravens (HUGE birds- and there's a belief that the kingdom will disintegrate if the ravens ever leave the Tower, but I think we were told that the birds' wings were clipped- so how can that be fair play? They can't really just walk away...)


Our group was also lucky enough to be able to see and enter St. Thomas More's cell, which is not a part of the general tours. Pretty cool.


We also had lunch at the Tower.
I don't remember everything, but we did share a polenta cookie. I liked it very much and tried to find a recipe when I returned home, but nothing was right.
I had seen a couple of recipes with some similarities, combined things, and made adjustments of my own. Ta-da.
Sorry, I did this about 10 years ago, so I can't quite tell you what I looked at and how I did it. I know I tried a couple times before I actually came to this recipe (it's my first attempt at trying to replicate a cookie).


Of course, always wash citrus with soap and water when you plan on using the zest (probably even if the fruit is organic).

Orange-Polenta Cookies
makes about 65, 2 1/2- 3 inch cookies

1 c (2 sticks) butter, room temperature
1 c granulated sugar
1 large egg
4 t orange zest
2 t lemon zest
2 T fresh orange juice
1/2 t vanilla extract
1/2 t salt
1 1/2 c flour
1 c cornmeal (plus extra)

Cream butter and sugar until fluffy. Add egg and mix until blended. Add orange and lemon zests, orange juice, vanilla, and mix until blended. In a separate bowl mix flour, salt, and cornmeal. Slowly add to butter mixture and stir on low speed until combined. Be careful that there are no unincorporated pockets of flour and cornmeal (it may be a good idea to turn off the mixer and stir/fold by hand so you can see better). At this point the dough will be fairly sticky. Wrap dough in plastic wrap and refrigerate 2 hours to overnight.

Have a flat-bottomed glass and a small bowl with cornmeal ready when you are ready to bake the cookies.
Preheat oven to 350 degrees.
Remove dough from refrigerator and roll into 1 1/2 inch balls. Place on ungreased cookie sheet 2 inches apart. Flatten balls of dough with the bottom of the glass to approximately 2 1/2 to 3 inches in diameter. You may have to sprinkle the first ball of dough with a little cornmeal, but after that just dip the glass into cornmeal before flattening each cookie.
Bake until edges are golden brown, 14-16 minutes. Cool 2-3 minutes on sheets, and using a metal spatula move the cookies to a wire rack to cool completely.
If you plan on leaving the cookies longer they may cement themselves to the sheet pan and break when you try to remove them. In this case it may be good to use parchment paper under the cookies.
Store in a tightly covered container.

Thursday, May 13, 2010

Asparagus Tart


Asparagus is another one of those great spring things.
Have you ever planted or picked asparagus? It's kind of fun, but it takes a few years before you can harvest any asparagus. First of all, you end up planting a mess of roots that kind of look like a spindly-legged octopus to me. When asparagus stalks grow they stick straight up from the ground and you just break or cut at the base.


At our house, I know we have asparagus as much as we can when it's in season because it's so good.

This tart/quiche is another way to serve it! It happens to be very nice for any meal- breakfast, brunch, lunch, dinner... even a tea.


The original recipe came from a friend of my mom's. Yes, I made some changes.
It originally called for the tart to be baked in a 9 inch deep dish pie pan- I use a 10 inch porcelain quiche pan instead. Either way, peek at it every now and then as it bakes since pans and ovens can vary so much.


Asparagus Tart
serves 6-10 (depending on what and who it is served for)

3/4 lb (scant) asparagus, cut in 2 inch pieces
2 1/2 T butter
1 medium onion, thinly sliced
2 T flour
4 large eggs, lightly beaten
3/4 c small curd cottage cheese
1/2 c milk
1/2 c grated Swiss cheese
1/4 t fresh grated nutmeg
1/2 t kosher salt
1/4 t freshly ground black pepper
1 pie crust, uncooked

Preheat oven to 425 degrees F.

You have two options for the pie shell- I like to pre-bake it, but this is not necessary.
If you would like to pre-bake it, place the crust in the pan and place the pan in the freezer for about 10 minutes. Remove from freezer, line the crust in the pan with aluminium foil and add pie weights or dried beans. Bake crust for about 7 minutes, remove weights and foil, and continue to bake for a further 3-5 minutes until crust seems set. Prick any bubbles to smooth the crust.
If you do not choose to pre-bake the shell, just have it ready for the filling!

Bring a large saucepan of salted water to boil. Add the asparagus and blanch until crisp-tender, about 2-3 minutes. Drain and set aside.
In a medium skillet over medium heat melt butter. Add the onion and cook, stirring, until tender 4-5 minutes. Sprinkle with flour, stir to coat and continue to cook for a minute before transferring the mixture to a bowl.
To the bowl, add the cheeses, eggs, milk, salt, nutmeg, and pepper. Stir until incorporated.
Spread the asparagus in the bottom of the pie shell and pour the egg mixture over.
Bake until puffy, set, and brown- about 25-35 minutes depending on the depth of the pan.

Let stand 10 minutes before slicing.
Serve warm or at room temperature.

Saturday, May 8, 2010

Lemon - Raspberry Souffles


Growing up we had a station wagon and everyone always wanted to sit in the front which, of course, could lead to arguments. The back wasn't all that great all the time (but it could sometimes be fun to ride down the road backwards and make faces at people), and you definitely didn't want to have to be stuck in the center of the middle seat. This particular spot would lead to complaints mirroring Alexander and the Terrible, Horrible, No Good, Very Bad Day (one of my favorite books)- stating the necessity for windows and threats of carsickness.

If too much arguing ensued then no one would be able to sit in the front. Eventually you learn about "shotgun" and although you're not always happy to lose, you would usually have to concede that someone else had won the right to be in the front seat.


So true.
Although, if someone had a concussion, it would probably be easier to get them in and out of the front seat than the back... just something to remember...


I'm sure all parents have to deal with the front seat issue (sorry- I'm almost 100% positive it's moms more often than dads).
There are surely more than "front-seat" issues that mothers deal with... this is just one example of the millions.


So, as a thank-you to moms and all they have (or had) to deal with, why not make something nice for dessert?


I think this would be a great Mother's Day dessert- light, pretty, and good for spring.
Souffles really aren't all that hard- they just take a little attention... and they don't appreciate sudden temperature changes.
They should also be presented as soon as they come out of the oven because they start to fall. Although deflation does not change the taste.


If you make these ahead of time and store them in the fridge, make sure to account for the cold temperature of the souffles when putting them in the oven. They will need a couple extra minutes!


Otherwise you end up with souffle on top and something more sabayon-esque in the middle. I'm just going with personal experience in this situation...


Still tastes good!

Lemon-Raspberry Souffles
makes 6-8
(depending on ramekin size- I use 1/2 c ramekins, but this recipe calls for 3/4 c ramekins... BELIEVE IT OR NOT, I do some math, apply some fractions, change proportions and usually make 10-12... I will not subject you to that right now. But if anyone would like to know, if you ask I will tell you when I return!)
Adapted from Bon Appetit Magazine, March 2008

6 t raspberry jam
24-40 frozen (or fresh) raspberries
2 T finely grated lemon zest
3/4 c sugar, divided
1 T cornstarch
3/4 c whole milk
3 large eggs, separated
2 T butter
5 T fresh lemon juice
salt
powdered sugar

Preheat oven to 400F. Butter six (3/4 c) or 8 (1/2 c) ramekins; coat with sugar. Spoon 1 t jam and 4-5 berries into the bottom of each ramekin. Place on baking sheet. Mash lemon peel and 1/2 c sugar in heavy medium saucepan; whisk in cornstarch, then milk and yolks. Add 2 T butter. Bring to a boil over medium heat, whisking constantly- about 1 minute. Transfer to a large bowl; mix in lemon juice. Add about 1/4 t salt and mix in.

Using electric mixer (or by hand if you're intent on punishing yourself), beat egg whites in medium bowl to soft peaks. Gradually beat in 1/4 c sugar; beat until stiff but not dry. Fold whites into warm lemon pudding- in 3 additions. Spoon mixture atop berries; fill to the edge of the ramekin. Bake until puffed, set, and golden around edges, about 14 minutes. Sift powdered sugar over and serve.

*Souffles can be assembled up to 4 hours ahead of time; chill until ready to bake.