Monday, August 29, 2011

Coconut Tart


So, we all know there are coconut lovers and coconut haters.
I don't think I've every found anyone who's indifferent to coconut. Do they exist?


If you're a lover, it may not have quite the pull that chocolate can have, but one can definitely use a fix every once in a while.


If you're a hater, you can probably just skip this one (because you'll hate it).


This is definitely for the lovers and it's reminiscent of coconut macaroons (a fork version of a coconut macaroon).
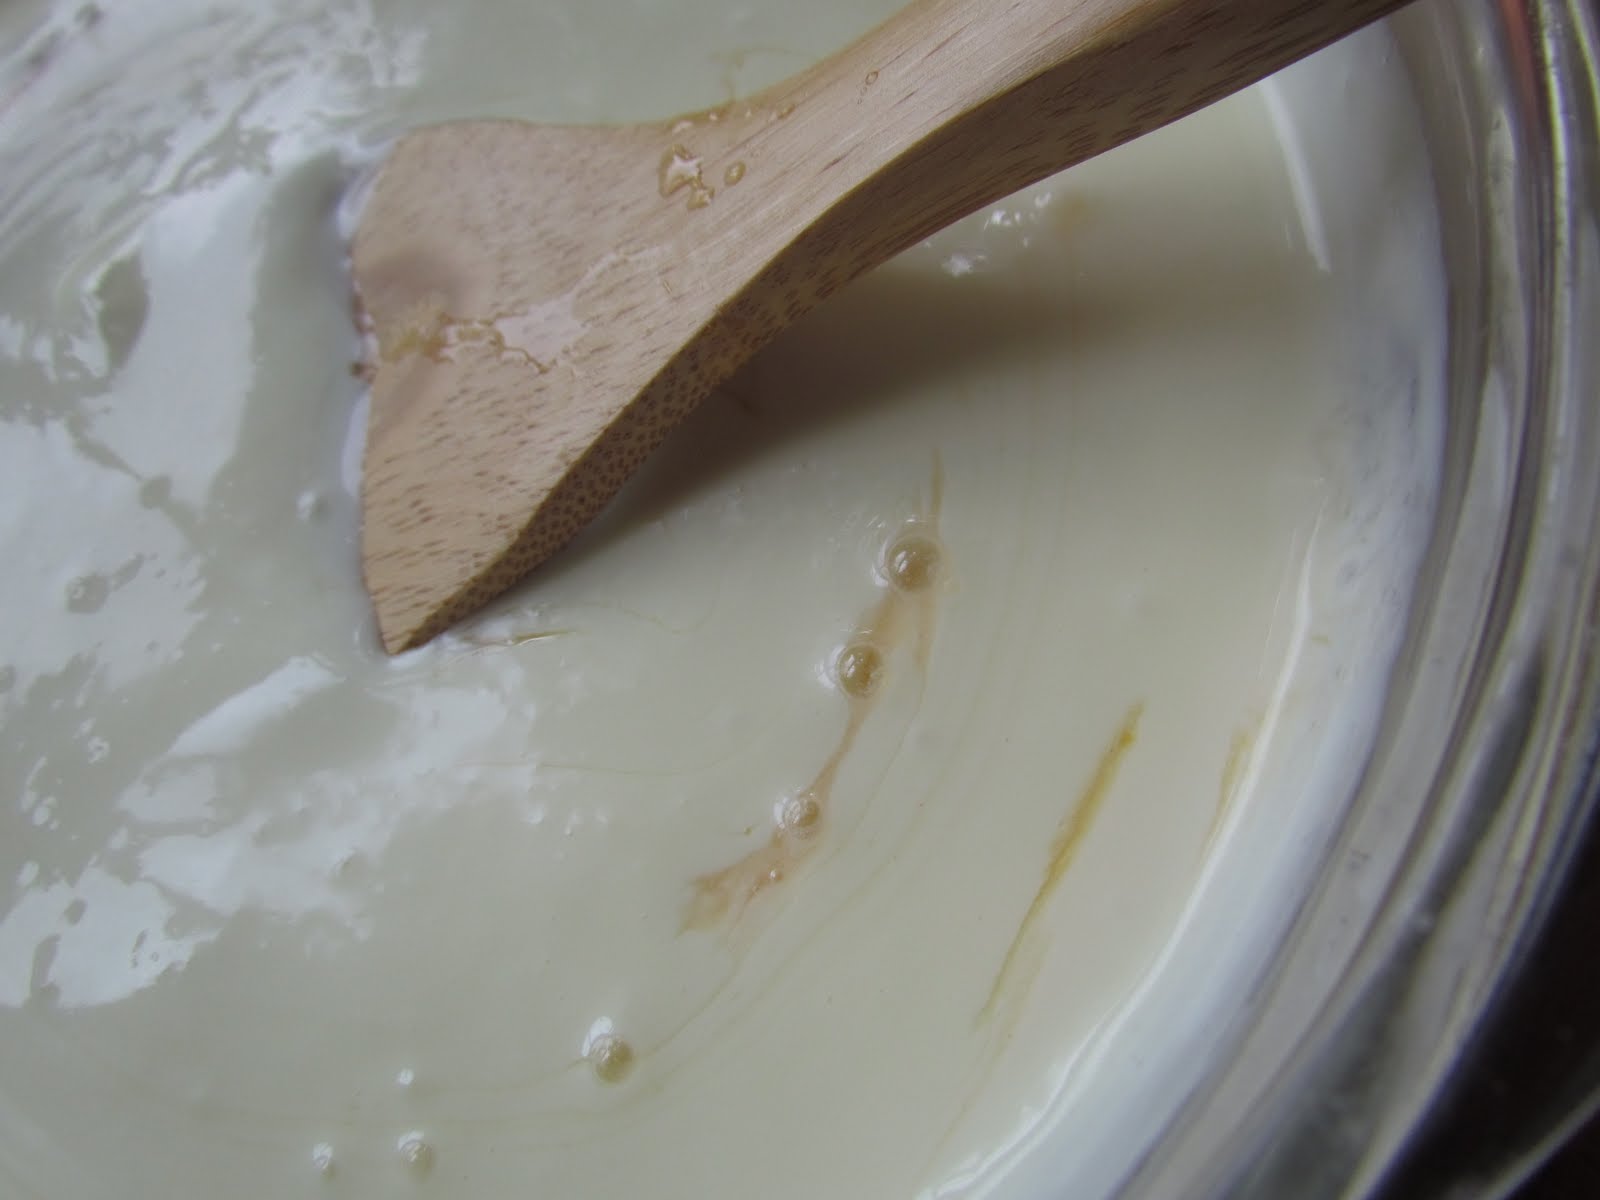
I was attempting to make a moist and slightly gooey coconut tart, but without using a can of condensed milk. It was decided that perhaps it would be a little TOO gooey, and TOO sweet.


It can be cut smaller, more like a sliver of something you might have with coffee or tea, or larger (the plate and fork version).


Plus, with a nice drizzle of chocolate it's a lot like a certain candy bar.

Coconut Tart
serves 10 or more

9 whole graham crackers, crushed to crumbs (about 1 1/4 c)
4 T butter, melted
2 T sugar

2 lg eggs
1/4 c heavy (whipping) cream
2 1/2 c sweetened shredded coconut
1/3 c sugar
1/2 t salt
1 t vanilla extract

Preheat oven to 350 degrees F.
Mix the graham cracker crumbs, sugar, and butter until it resembles wet sand. Press the mixture into the bottom and up the sides of a 9 inch tart pan with a removable bottom.
Bake 10 minutes, until the tart shell is set and slightly browned. Set aside to cool.
Keep oven set at 350 degrees F.

In the bowl of an electric mixer fitted with the paddle attachment, mix the eggs, cream, sugar, salt, and vanilla until well incorporated. Add the coconut and stir until combined.
Spoon the coconut mixture into the prepared tart shell and gently smooth so that the filling fills the shell. Bake 30 minutes or until the filling is set and the top of the tart is browned and toasted in spots.
Let cool completely before cutting.

Friday, August 26, 2011

Salade Niçoise


A great meal salad...
It's light in comparison to many other things, but it's filling.
As a meal, it has a very colorful eye-appeal and includes a lot of flavor and texture variety.


This salad comes from the south of France- in Nice.


I'm not going to tell anyone that I know the version here is completely authentic. Apparently the subject of "authentic" Salade Niçoise is a touchy one.
To purists, there are very strict rules which delineate what is proper for this salad.
Not being a "purist" in regard to this salad, it's quite possible that I have made a mistake or three...


One thing I can say is that anchovies are obligatoire, tuna is traditionally canned, and potatoes are not traditonal. Oh, well.
But, things can be changed depending on tastes...
And are the salad police going to come knocking at your door? Probably not.


Let's talk tuna.
Not all canned tuna is bad, and not all "fresh" tuna is good. It's very much up to you what you do with your fish here.


Good, fresh tuna is not "fishy" in flavor, but rather "clean" and meaty. If you want to use fresh tuna, you're able to grill or pan fry it to your preference. If you want your tuna to be less rare than what I've shown, (of course) cook it a little longer or cut the tuna loin into smaller pieces before cooking. That way you have more surface area and less center.


However, if you want to just use canned, be my guest. If you do end up using canned tuna, try to find some good tuna, perhaps something that's oil packed and imported.
Tip: try a higher end grocery store (I know I've seen it in St. Louis for those of you who are here).

I like this salad in a semi-deconstructed version so you can re-construct each bite as you eat.


Salads can be served individually plated, or laid out on a large platter with the salad and tuna in the center, and all the other components circling it in (decorative) small mountains. This way, when the platter is served, people are able to put together their own salads.

I figure each salad breaks down into about:
1/2 to 1 ounce of mixed spring greens
1/5 to 1/4 lb tuna
4 olives
small handful of green beans
a few potatoes
a few cherry tomatoes
a bit of onion
2 anchovies
3/4 to 1 whole egg
1/2 t capers


Salade Niçoise
Serves 4-5

Vinaigrette:
2 T sherry or red wine vinegar
1/2 T Dijon mustard
1 small shallot, peeled and minced
7 T olive oil
3 T fresh parsley, minced
kosher salt
freshly ground black pepper

Salad:
3-5 oz. Mixed spring greens
1 lb. very fresh tuna loin (or a couple cans good-quality tuna, oil packed if possible)
4 oz Niçoise olives (or Kalamata if you can't find the Niçoise)
1/2 lb. fresh green beans, ends trimmed
1/2 lb. new potatoes
8 oz. cherry tomatoes, halved
4-5 eggs, hard boiled*, peeled and quartered
1/4 red onion, very thinly sliced
10 anchovies
scant 2 oz. capers, drained

To make the vinaigrette:
Place minced shallot and a couple pinches of salt in a small bowl along with the vinegar. Let the mixture sit about 10 minutes. Add the Dijon mustard and whisk to combine. Slowly add the olive oil while whisking to emulsify. Season to taste with salt and pepper, add the parsley and stir to combine.

Salad:
Bring a large pot of water to a boil. Salt well, bring back to a boil and add the green beans. Cook about 5 minutes. While the beans cook, prepare an ice water bath. Once cooked, add the beans to the ice water to stop the cooking. When the beans are cold, drain and moisten with a couple tablespoons of vinaigrette.
Add the potatoes to the boiling water and cook for about 15 minutes, or until they yield easily when pierced with the tip of a knife. Drain and let cool at room temperature until you can handle them easily but while they're still warm. Halve or quarter the potatoes (depending on their size) and toss with about 1/4 c of the vinaigrette.
Season the tuna with salt and pepper. To sear the tuna, heat a pan with 2 T olive oil over medium-high heat until the oil shimmers. For very rare tuna, cook the tuna for about 1 minute and 15 seconds on each side. Remove the tuna loin to a plate to rest and cool.
Just prior to serving, divide the greens among the plates and mound them in the center. Arrange the potatoes, green beans, tomatoes, eggs, olives, capers, onions, and anchovies around the little hill of salad greens. Drizzle the plate with vinaigrette and place tuna atop the greens. Serve immediately.

* To hard-boil eggs:
Place eggs in a pan and just cover with cool water. Bring to a full boil, turn off the heat, and let the eggs sit in the water for 10 minutes. Remove the eggs to a bowl of cold water to stop the cooking process. Crack the eggs from the large end and peel under cool running water.
Note: Extremely fresh eggs do not peel well. Egg shells are porous, right? Older eggs develop air inside of them, which makes peeling the shell and membrane from the egg easier.

Tuesday, August 23, 2011

Vichyssoise


Vichyssoise is a simple but elegant, lovely cool and velvety-smooth pureed warm-weather soup. It mainly requires leeks and potato with chicken broth and cream.


Yes, the name is French, but it seems to be a bit questionable whether vichyssoise is an American or French invention...


However, the credit is usually given to Louis Diat, a French chef at the Ritz-Carlton in New York in the early 1900s.


He later wrote for Gourmet magazine, and some of his articles can be read online (he actually DOES claim to be the inventor of vichyssoise in this article, and I'm very apt to believe it).
Diat's column can make an interesting read if you like reading foodie literature.
The history and his memories can offer an interesting look at earlier American as well as French life and cooking.


When you make this, you want to be sure and give yourself enough time so that the soup has a chance to cool. Four or more hours of cooling time is usually required.

Vichyssoise
Serves 8-12

4 large leeks, white and light green part only, halved lengthwise and chopped into 1/2 inch pieces
2 medium yellow onions, diced (about 3 cups)
4 T butter
5 c chicken or vegetable stock
2 large baking potatoes, diced (about 2 lbs.)
1/4 t freshly ground nutmeg
1 c heavy whipping cream
1 c half and half (light cream)
Kosher salt
Freshly ground black pepper

Optional: chopped chives for garnish

Place the chopped leeks in a large bowl of water. Swish them around a bit to help remove bits of dirt and sand caught between the layers. Remove the leeks by scooping them out of the water and into a colander so that the dirt which has sunk to the bottom of the bowl stays in the bowl.
In a large dutch oven or saucepan, melt the butter. When foaming, add the drained leeks and the onion. Stir so that each piece is warmed and coated with butter, turn the heat to low, and cover. Let the vegetables cook for about 10 minutes, removing the lid a couple times to give a good stir, then making sure to replace the lid.
Once the onions and leeks are softened, add the vegetable or chicken stock and the potatoes as well as 2 t kosher salt. Bring the soup to a boil, reduce to a simmer, and cook for about 30 minutes, or until the potatoes are soft.
Working in batches, puree the soup in a blender or food processor. Be careful not to overfill the food processor or blender since spillage can be an issue. Hot liquids also expand, so 1/3 of the total capacity is safe. After each batch is pureed, pour it into a large bowl. Once all of the soup is pureed, stir in the nutmeg and place the bowl in the refrigerator to cool (at least 4 hours).
Prior to serving, stir in the half and half and cream, and season to taste with extra salt and pepper.
Garnish with chopped chives if desired.

Thursday, August 18, 2011

Iced Chocolate


A cold, dark, and adult version that's the consistency of a thick hot chocolate.


It earns a triple chocolate classification with the cocoa, chocolate, and chocolate ice cream combination... just to make sure there really is chocolate in it.


Because sometimes it's just what you need.


Based on a recipe by David Lebovitz

Iced Chocolate
serves 2-3

1 c milk (whole milk recommended here)
1 rounded T cocoa powder
4 oz bittersweet chocolate (60%), chopped
1 c ice cubes
3 scoops chocolate ice cream
1/4 c Kahlua
1 shot espresso, room temperature
Optional: whipped cream and shaved chocolate for serving

Heat milk and cocoa powder in a small saucepan over low heat until small bubbles appear at the edge of the pan. Remove the pan from the heat and add the chopped chocolate. Let the chocolate and milk mixture sit a minute so the chocolate has a little time to melt, then stir until smooth. Set aside to cool to room temperature.
Place all ingredients in a blender and blend until smooth.
Top with whipped cream and shaved chocolate if desired.

Monday, August 15, 2011

Fresh Peach Ice Cream


Frankly, I'm not a fan of canned fruits or vegetables.
I mean, I eat and use them if that's what I've got, but...
Canned vs. fresh? No comparison.
They're nothing alike.


The flavor and texture of those that are canned generally leave something to be desired.
Peaches and pears are the two I usually think of when canned fruit is brought to mind. Those two fruits can aspire to something so much more than being tinned, and nothing at all has to be done with them!


Well, if fruit could aspire.


Because it's ok as long as cows approve.

When things are in season and soooo good, why not eat them as much as possible?
Maybe if you eat enough peaches right now, you won't want any in December.


That said, I am aware that I've technically cheated and "done something" to the peaches when I put them into ice cream.


We used to make peach ice cream in the summer. We had a hand crank ice cream maker, which has since completely disappeared, and I remember that my dad used to crush a big bag of ice for it.
The bag of ice would be placed between two boards and he'd drive the car over it a few times.
Alright, so the technique might have been slightly unorthodox, but hey, it got the job done.
This was about 25 years ago and I don't think they made fridges with ice makers and ice crushers yet. Hammers and cars were the way to go.


Cars can also apparently be useful for pulling stubborn dead bushes out of your yard. Just be careful of your rear windshield, or you will need to replace it.
Consider this a fair warning.


Now, as for peach ice cream, the riper the peaches, the better your ice cream will be.

Peach Ice Cream
Adapted from a Ben & Jerry's Recipe as well as a recipe from Gourmet, June 2008

1 1/2 c heavy (whipping) cream
1 1/2 c whole milk
1 c sugar, divided
pinch of salt
2 large eggs
2 c fresh peaches, peeled and chopped
1 T lemon juice
1/2 t vanilla
1/4 t almond extract (optional, but recommended if the peaches aren't the ripest)

In a saucepan, combine cream, milk, salt, and 1/4 c sugar. Warm over medium low heat and stir occasionally until the sugar is dissolved. While the cream mixture heats, whisk the eggs until frothy, add 1/4 c sugar, and continue to whisk until the sugar is well incorporated. Set aside.
Watch for small bubbles to appear at the edge of the pan of milky cream. Once it reaches this point, slowly pour about 1 cup of the cream mixture into the eggs while whisking to temper the eggs. Pour the egg mixture back into the pan of hot cream while stirring. Continue to cook while stirring a few minutes until the ice cream base is slightly thickened. Pour through a sieve into a bowl, stir in the vanilla, and refrigerate several hours until cold.
Meanwhile, in a separate bowl combine the peaches, 1/2 c sugar, and lemon juice. Stir and refrigerate 2 hours, stirring again every 30 minutes.
Strain the peaches and reserve both the juice and the peaches.
Combine the cooled ice cream base with the strained peach juice and freeze in an ice cream maker according to manufacturer's instructions. When the ice cream is almost completely thickened add the peaches so they're scattered throughout the ice cream.
Remove the ice cream to a plastic container, cover, and freeze several hours until completely frozen and scoop-able.

Friday, August 12, 2011

Pesto


At the end of the summer, August or September, pesto is a good use of all that overgrown basil you might have.


It wouldn't grow at the beginning of the season, and now you're drowning in it...

You can freeze it for a little later in the year for some summery flavor, too. Just make sure that air doesn't get to it. Oxidized basil ain't so pretty, folks.
However, blanching the basil will help keep it a brilliant green.


Freshly made pesto is so much better than jarred.
Use it on pasta, gnocchi, risotto, polenta, in dips, on a tomato salad, for bruschetta, on chicken or fish... thin it with a little more oil and it can be a fantastic bread dip.


The technique of turning garlic cloves into garlic paste helps give the strongest garlic flavor possible. If all the cells in a clove of garlic are broken down, then the compounds which give garlic it's garlickyness are released. Plus, it's smooth and more easily incorporated into the rest of the sauce.


Little bits of pine nuts, yes.
Little chunks of raw garlic? Whew. I'm not sure I'm a fan of those.


And so, to make garlic paste, start with minced garlic on a cutting board. Sprinkle the bits of garlic with kosher salt, and smash the garlic by adding a little pressure and dragging the flat side of the knife over it, the blade facing away from you. Scrape, pile it up, scrape in a different direction... and continue until it's a relatively smooth consistency.


Depending on what you want to do with it, you can leave the sauce thick and spreadable, or make it more loose with a little extra olive oil.


Pesto Genovese
makes about 2 c

4 c fresh basil, packed (about 6 oz by weight)
3 cloves garlic, minced
Kosher salt
2/3 c pine nuts, lightly toasted in a dry pan (only a few minutes, warmed through and very lightly colored)
2/3-1 c olive oil
2/3 c finely shredded Parmesan cheese
1/4 c finely shredded Pecorino Romano cheese
Freshly ground black pepper

Bring a large pot of water to boil. Once the water boils, prepare an ice water bath in a large bowl and set aside. Add the basil leaves to the boiling water and quickly remove them to the bowl of ice water after 30 seconds. Cool and drain well.
Have the minced garlic ready on a cutting board and sprinkle with 1/2 t kosher salt. Find a large chef's knife with a wide blade and place the flat side of the knife on top of the garlic, blade facing away from you. Apply some pressure and drag the knife across the garlic. Scrape it all together, and drag the knife across again. Continue until the garlic is a relatively smooth paste.
In the bowl of a food processor combine the blanched basil, garlic, pine nuts, and 2/3 c olive oil. Process until well-combined and the basil and pine nuts are broken down. Add the Parmesan and Pecorino Romano cheeses as well as 1/2 t black pepper, and pulse until incorporated.
Add extra olive oil to thin to desired consistency. Season to taste with extra salt and pepper.

To store: Place in jars or other containers in the refrigerator covered with a thin, extra layer of olive oil before closing. It should last in the refrigerator at least a week.
To freeze: Place desired amounts of pesto in small freezer bags, containers, or jars (maybe about 1/2 c per lb. of pasta or gnocchi?). Make sure all of the air has been removed before sealing the bags or add a thin layer of olive oil to top off the containers. Defrost in the refrigerator or at room temperature. Pesto should last several months frozen.