Thursday, August 12, 2010

Peach and White Wine Sorbet


So, in one of my newish cookbooks, I have a recipe for some lovely Red Wine-Raspberry Sorbet that I had wanted to try since I received said book in the mail from my friends at Amazon.
I didn't get around to it until recently (and it was VERY good- fairly robust because of the Merlot I chose, but good).


But I wanted to try something lighter and with peaches since they are sooooo good when they're perfectly ripe. I know, it can be hard to justify using peaches for something (such as cooking!) other than out-of-hand eating sometimes when they are so perfect.

One summer when I was in college I had a job at a peach orchard (educational in many ways to say the least), and sometimes Joe (another college student who was working there with me) and I would eat a peach as we picked them. Some of them were HUGE, as big as a softball, weighing down the branches of the trees. The difference between fresh, sun-warmed, tree-ripened peaches and the golf balls you can often find at the grocery store is pretty amazing. No comparison.


Something I didn't initially understand was how the (legal) migrant workers the orchard owner had hired to help pick peaches could wear heavy long-sleeved flannel shirts outdoors and in the middle of the summer. I found out that they were protecting themselves from the rain of peach fuzz. If you have ever been attacked by wayward peach fuzz you'll understand what I'm talking about. It's a very uncomfortable and itchy sensation.


Apparently in peach picking you have a choice: be hot or itch like crazy. It seems to be putting yourself between a rock and a hard place if you ask me.

This recipe is inspired by David Lebovitz's Red Wine Raspberry Sorbet, and it's definitely an adult dessert (or maybe a palate cleanser between courses for a nice dinner).


I left the peaches unpeeled because I thought it would give the sorbet more color in the final product.

Something you will want to keep in mind is that the wine you choose will, in large part, flavor the sorbet. A wine that is fruity and one that would be complimentary to fruit would be good- you don't want fruit and wine vying for dominance here, kids. Choose a wine that you would drink, but by no means does it have to be expensive since it will be heated, "doctored", and frozen. It can be cheap! It can be on sale! I don't know if I would go with something too sweet though (i.e Riesling), since you will be adding sugar (which helps with consistency). Chardonnay or Sauvignon Blanc might be good...

If you don't know, talk to the wine merchant at your store OR check out the label, take a chance, and go with what looks good.

Peach and White Wine Sorbet

1 bottle (750 mL) fruity white wine
1 c sugar
3/4 c water
4 c roughly chopped peaches

Combine wine, sugar, and water in a medium saucepan and bring to a boil. Boil for about a minute, remove from heat, add peaches, and cover. Leave warm peach and wine mixture to marinate for about 1 1/2 hours.
Place part of the mixture in a food processor or blender and blend for a minute until the peaches are broken down. Remember that hot liquids expand when you process them and you want to be careful not to have too much in the bowl of the processor when you turn it on, otherwise you'll be cleaning up a sticky mess. Strain into a large bowl or container with a cover, pressing on the solids with a spatula to extract as much of the juice as possible.
Repeat with the rest of the peaches and wine.
Cover the mixture and chill until completely cold (overnight may be best).
Place the cold mixture in an ice cream maker and continue per manufacturer's instuctions.
Freeze in a covered container.

ALTERNATIVELY: Place cold mixture in a 9x13 inch glass dish and freeze. Check the sorbet and stir every 1/2 hour or so until it is of a sorbet consistency.
(P.S. I end up having do this sometimes anyway with my partially frozen sorbets after using the ice cream maker!)

Monday, August 9, 2010

The Perfect Summer Sandwich


Mom and I were once in London on our way back to America (this was the same trip as the Tower of London visit).


We picked up a sandwich at a little restaurant to share for lunch while waiting for our plane. It was very simple, not necessarily what I would have thought to put together in a sandwich, but exquisitely good- and sometimes it turns out to be exactly (EXACTLY) what you want.


Simplicity! And on occasion it hits the spot to perfection.
Most of the time I opt for a sprinkling of good salt (grey, fleur de sel, etc.) and some fresh ground black pepper.
I've never tried it, but a little Dijon might be good if you feel like it...


We frequently make it when tomatoes are at their best- as it's also a great way to help put a small dent in the millions of tomatoes you might get if you happen to have a garden.
Cucumbers are fantastic in the summer... they seem a very summery sort of vegetable... and they have a cooling effect.


This particular sandwich is very nice for picnics since it packs and travels well (with a glass of white wine and some strawberries for dessert), outdoor concerts (classical music), vegetarian days...


One thing is very true: when you have something with few ingredients (and especially if they are not cooked) you want the ingredients you choose to be fresh and of the best possible quality. Choose wisely.


Brie, Cucumber, and Tomato Sandwich

Good Brie (the best Brie you can buy or find)
Fresh Tomatoes
Cucumber
Fresh, crusty baguette
Salt
Pepper

Slice baguette lengthwise (not all the way through though). Pull out a little of the inside of the bread so you have a slight indentation on top and bottom. Add slices of Brie, cucumber, and tomatoes.
Sprinkle with a little salt and fresh ground pepper as desired.

Thursday, August 5, 2010

Strawberry Spinach Salad


This salad comes from a friend of our family (I tweaked the amounts a little to allow for leeway) and I asked his permission before I posted it!

It's simple and light, looks beautiful, and tastes great.
This is one of those salads that someone usually wants the recipe for if we take it to a picnic, potluck, or dinner - so here it is.


I like the bright colors (and they shine very nicely with the dressing), the different textures (soft, crunchy, satiny), and flavors (sweet, sour, nutty, zingy).


It may sound a little strange, I know, but I wanted it for breakfast (so I made it for breakfast this morning).

It's great as a first course, as part of a luncheon, as LUNCH... or breakfast...


I think I'm at a lack of words today for the sole desire of wanting to post something- sorry, not too verbose at the moment.


One tip I have for this recipe: don't toss the spinach with the dressing until you are ready to serve it! Baby spinach is very delicate and vinegar begins causing the leaves to wilt as soon as it comes in contact with them.

And a warning: you may have to floss your teeth after eating this salad.


Strawberry Spinach Salad
Makes 1 large salad (8-10 side salad servings)

10-12 oz baby spinach leaves (washed, dried and placed in a large bowl)
1- 1 1/2 pt strawberries (cut in half or quarters depending on size and placed in bowl with spinach)

3-4 oz almond slices
2-3 T sugar

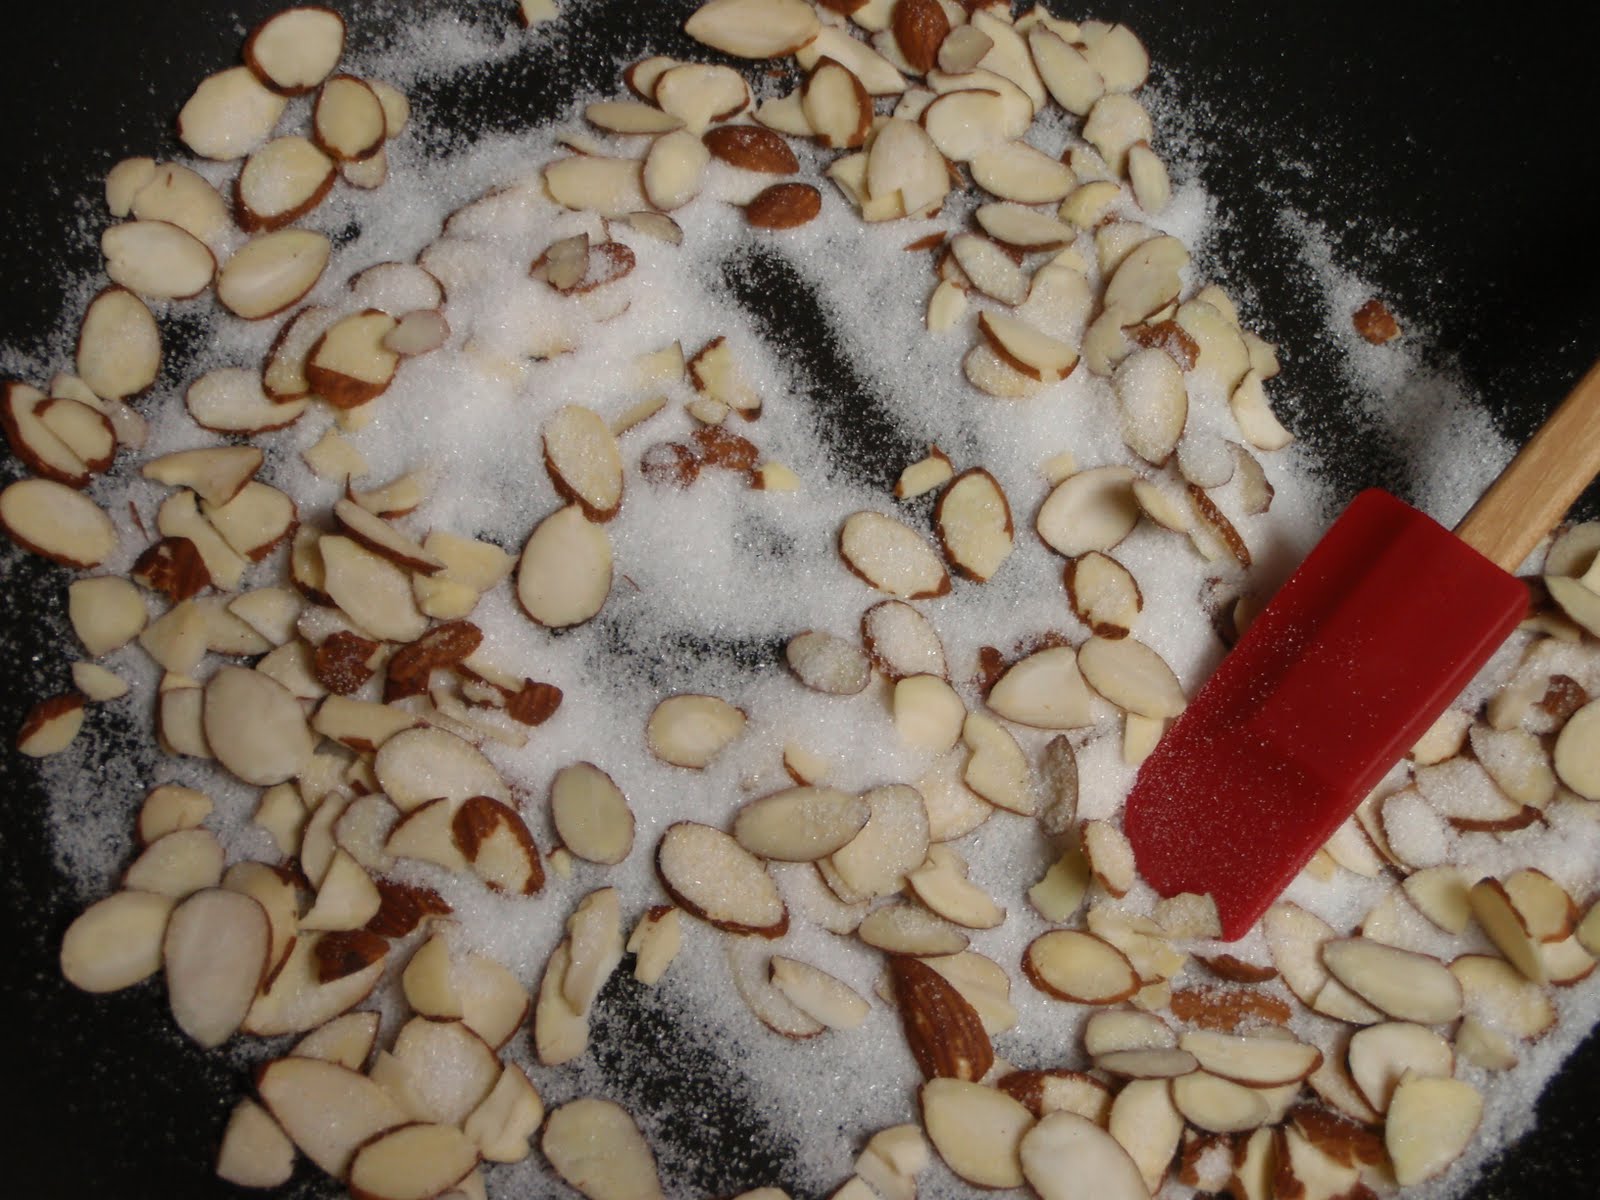
Mix the almonds and sugar in a Teflon skillet over medium heat. Once the sugar begins to melt, stir constantly as the sugar continues to melt fairly rapidly and you don't want to burn the sugar and almonds. Spread out onto a plate or foil to cool. When cool, break clusters of almonds into smaller pieces.

Dressing:

1/2 c vegetable oil (scant)
1/2 c sugar (scant)
1/4 c cider vinegar
2 T sesame seeds
1 T poppy seeds
1 1/2 t grated onion
1 1/4 t Worchestershire sauce
1/4 t paprika

Blend dressing by hand (or shake all ingredients in a jar). Toss dressing with spinach and strawberries. Sprinkle almonds on top and serve.

Monday, August 2, 2010

Tomato Tart


At the end of summer many people suffer a glut of tomatoes (zucchini too- and I thought I might try to give some recipes using each of these ingredients this month).

Not that fresh tomatoes aren't great, but you can usually only eat so many...
Sliced with salt and pepper, on a hamburger or sandwich, in a salad, salsa, cherry tomatoes out-of-hand...


Then everyone starts giving them to all their neighbors, who already have their own tomatoes as well as those from fourteen other people.

If you really wanted to give yourself something to do, you could start canning them... but it will certainly be an almost all-day project if you really have as many tomatoes as you should to even think of canning them to make it worth your while.


This is another excellent use of tomatoes. But I would say it's not just a way to "get rid" of tomatoes, it's actually a great recipe in and of itself.


One little tip here: don't refrigerate tomatoes- they lose flavor this way. Keep them in a cool/room temperature spot.
If you buy them, only buy what you can use in a reasonable time period without having them go bad.


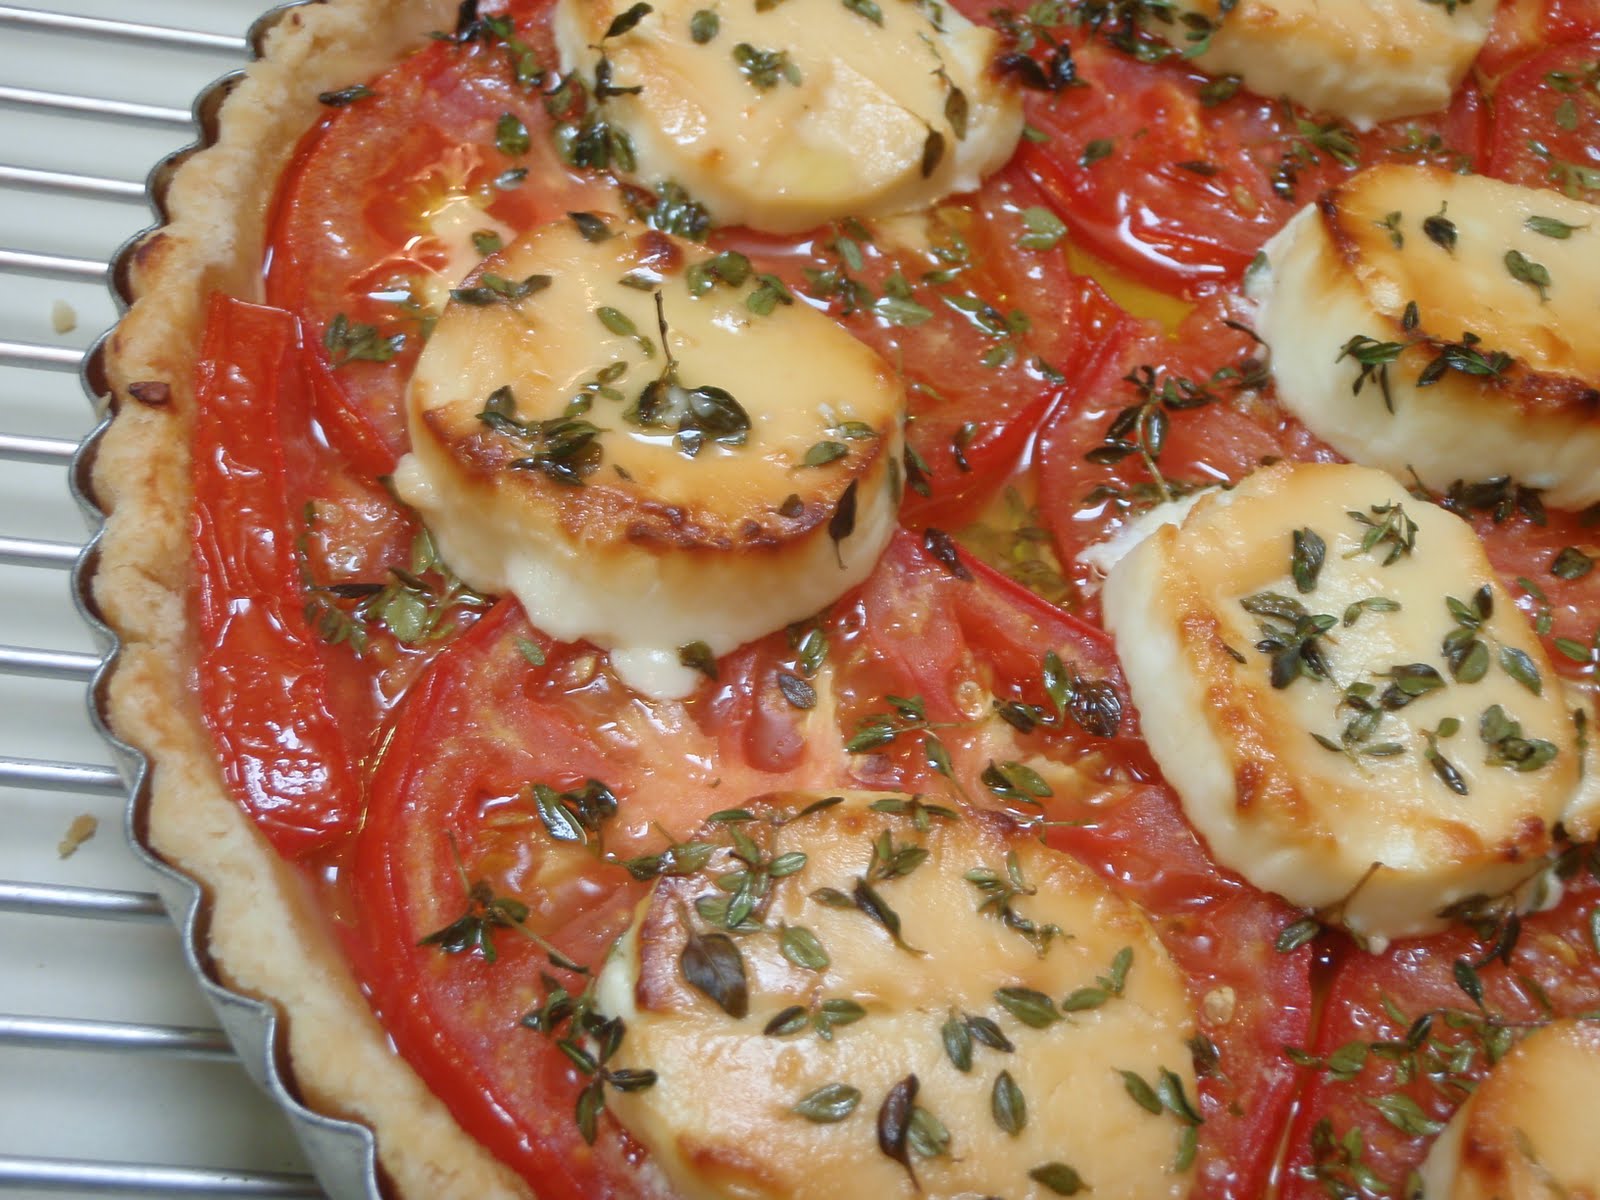
I originally made this recipe more than a month ago on a rainy day (sorry, the lighting was less than stellar that day), and we all liked it very much (so I do plan on making it again).

The recipe comes from David Lebovitz's blog- he adapted it from A Culinary Journey in Gascony by Kate Ratliffe.
I would say that if your tomatoes are extremely juicy, try to get rid of a little of the juice and or seeds and pulp, or use a little less olive oil when you come to that part. The only thing I would add is that you could serve it drizzled with a little extra honey if you would like!


French Tomato Tart
makes 1 9 to 10-inch tart (using a tart pan with a removable bottom OR as a freestyle/rustic tart- pastry rolled into a circle and edges folded up... if you do this roll it out on a baking sheet with parchment paper underneath the pastry)

1 unbaked tart dough (recipe below)
Dijon or whole-grain mustard
2-3 large ripe tomatoes
2 T olive oil
salt and freshly ground pepper
2 generous T chopped fresh herbs (thyme, chives, chervil, tarragon...)
8 oz. (250 g) fresh or slightly aged goat cheese, sliced into rounds
Optional: 1 1/2 T flavorful honey

Tart dough:
1 1/2 c (210 g) flour
4 1/2 oz (125 g) unsalted butter, chilled and cut into cubes
1/2 t salt
1 large egg
2-3 T cold water

Make dough by mixing the flour and salt in a bowl. Add the butter and use your hands or a pastry blender to break in the butter until the mixture has a crumbly, cornmeal-like texture.
Mix the egg with 2 T of the water. Make a well in the center of the dry ingredients and add the beaten egg mixture, stirring until the dough holds together. If it's not coming together easily, add the additional tablespoon of water.
Gather the dough into a ball and roll the dough on a lightly floured surface, adding additional flour only as necessary to keep the dough from sticking to the counter.
Roll the dough into a (rough) circle using a rolling pin. Once the dough is large enough so that it will cover the bottom of the pan and go up the sides, roll the dough around the rolling pin and then roll it over the tart pan (if it tears just patch it!). "Dock" the bottom of the pastry firmly with your fingertips a few times, pressing in to make indentations.
If making a freestyle tart, simply transfer the dough to a prepared baking sheet (no need to make indentations).
Preheat the oven to 425 degrees F (218 degrees C).

Spread an even layer of mustard over the bottom of the tart dough and let sit a few minutes to dry out (for the free form tart leave about 2 inches around the perimeter without mustard).
Slice the tomatoes and arrange them over the mustard in a single, even layer. Drizzle the olive oil over the top.
Sprinkle with some chopped fresh herbs, then arrange the slices of goat cheese on top. Add some more fresh herbs, then drizzle with honey, if using.
(If baking a free-form tart this is when you gather and fold up the edges to envelop the filling.)
Bake the tart for 30 minutes or so, until the dough is cooked, the tomatoes tender, and the cheese on top is nicely browned. Depending on the heat of your oven, if the cheese doesn't brown as much as you'd like, you might want to pass it under the broiler until it's just right. If, on the other hand, the tart is cooking too fast, you may want to turn the oven down halfway through cooking and just keep an eye on it!

Wednesday, July 28, 2010

I will be back posting in August!
Sorry, things have been too crazy for me...

Monday, July 12, 2010

Grilled Pizza and Flatbread


Cooking dough on a grill is something you would really want to play with...
There are no hard and fast rules to this one (as with many of the things I have been posting here...)


Grills are SO variable- the only thing I would really say was to make sure you keep an eye on this one. The good news is that it cooks fairly quickly- between 5 and 20 minutes (probably) depending on heat and what you decide to do technique-wise.

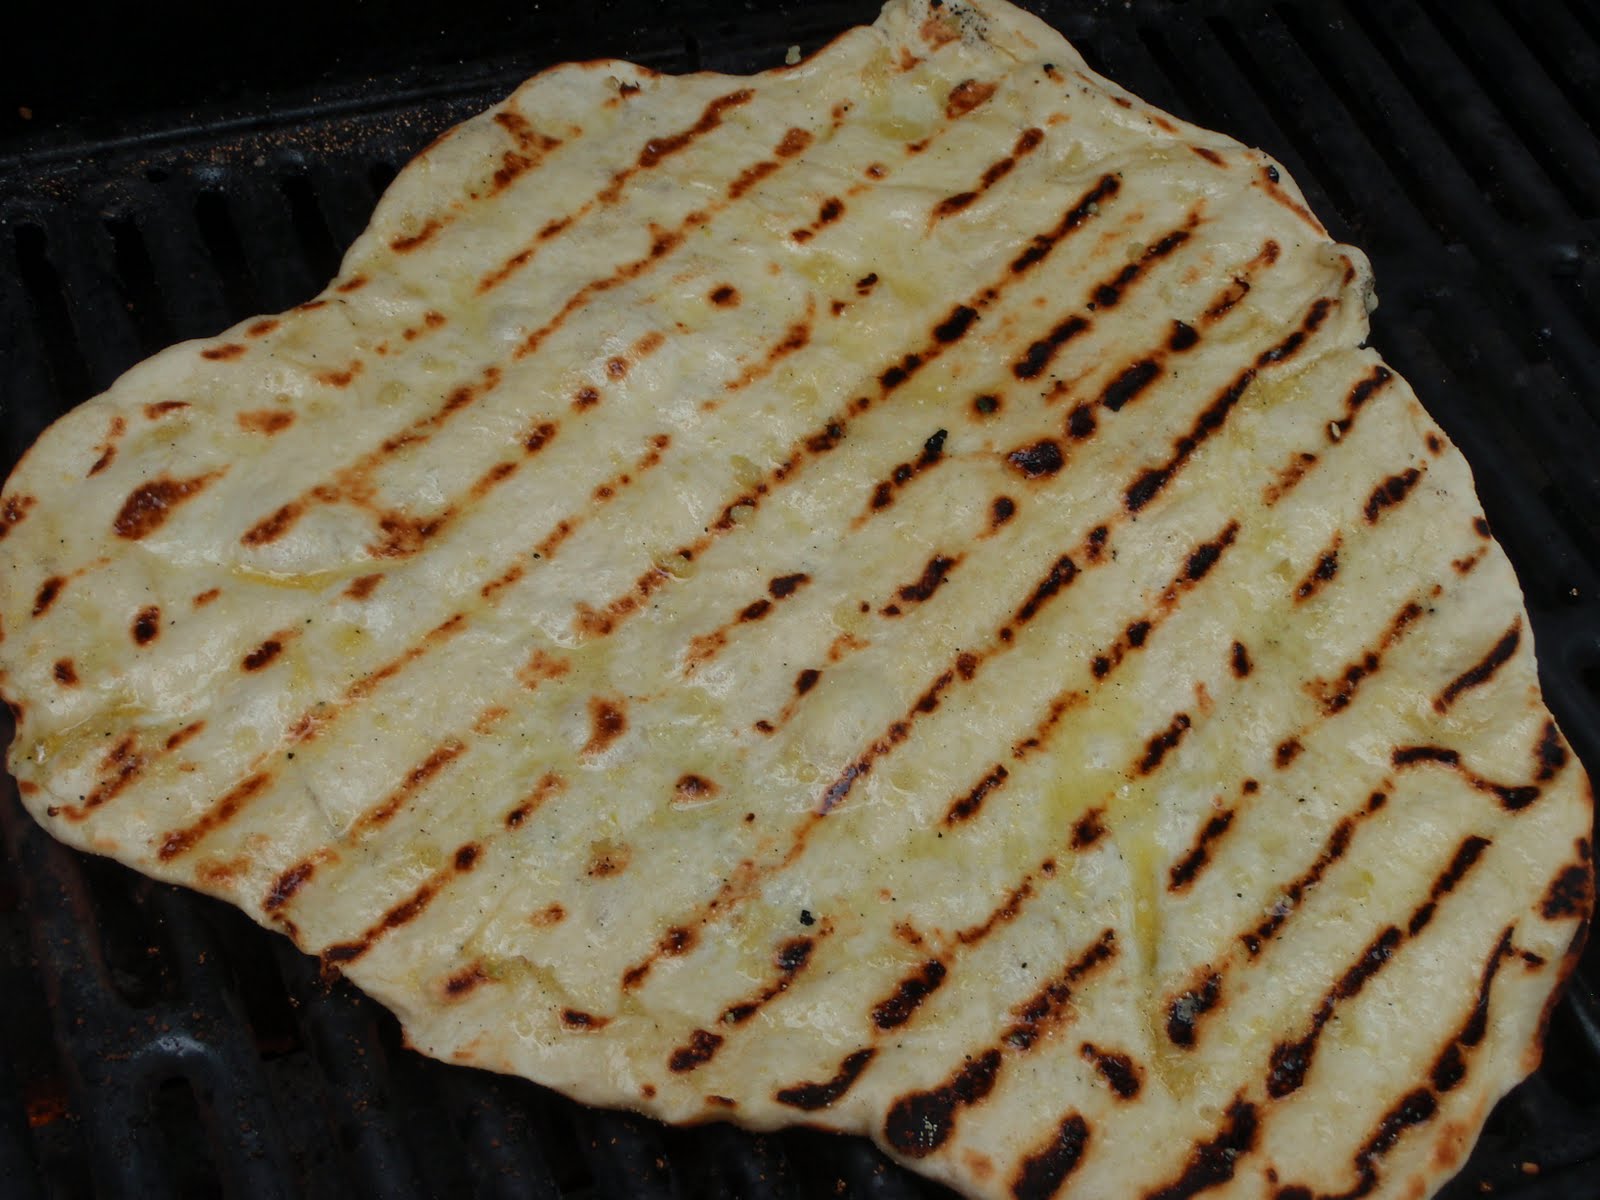
Personally, I really like grill marks, but you may not.


The really nice thing is that you could go with some no-holds-barred creativity and pretty much make this however you wanted.
Sauce, no sauce, vegetables, meat, cheese, herbs, olive oil...
You could even just go to the market, see what's fresh, and go from there!


Tomatoes, shaved asparagus, caramelized onions, a nice melange of summer veg that you have grilled prior to placing them on the crust...

Perfection is not required- it can be "charming" and completely homemade-looking. Besides, it probably tastes better when it's not perfect.

One thing that you will want to have is either a pizza peel or a cookie sheet without sides, so you can roll out the dough and get it to (and off) the grill. It just makes things easier.

Cooking it at a higher heat and with a thinner crust will definitely make it crisper, but a slightly thicker crust cooked at a "not-quite-as-high" heat will give you something chewier.

It makes a light meal or is a great addition to antipasti.


I like to make a garlic olive oil while the dough is rising- and it can infuse for a while before I use it for the crust.
As you can see, one of these is a "Margherita"-style with tomato, mozzarella, basil and a sprinkle of freshly grated Parmesan. The other is thinly sliced lemon (make sure to wash well!), red onion, rosemary, and shaved Parmesan. Both crusts have been painted with garlic oil and the whole thing is sprinkled with kosher salt and freshly grated black pepper. It all depends on what you like...

The "Margherita" dough was partially cooked on one side, garlic oil and toppings were added, and it was given some time to finish cooking and melt the mozzarella.
The dough I added lemon and onion to was cooked on both sides before garlic oil and toppings were added.

And I would like to apologize here- things are not moving along at the clip I would prefer for my blogging this month. Sorry, things have been a tad crazy as of late.

There are tons of recipes for pizza dough out there.
I actually made this about a month ago (and took photos). I looked at two recipes and then combined them and made some things up. Ta-da! Pizza.
Unfortunately, I didn't write things down and I don't have time to re-figure out what I did because I want to post something! This recipe is slightly adapted from Essentials of Classic Italian Cooking by Marcella Hazan (It's a great book- but nothing flashy. There are pen and ink drawings but no photos, no color... if you're in need of something attention grabbing because sparkles and flashing lights assist you in cooking endeavors, I'm very sorry. However, what it does have is really great raw information).

Pizza Dough
makes 2 pizzas, about 12-inches wide (depending on how thin they are)

1 1/2 t active dry yeast
1 c lukewarm water
3 1/4 c AP flour
about 2 T olive oil
1 T honey
1/2 T salt

cornmeal for dusting pizza peel or pan

Dissolve yeast completely in a large bowl with 1/4 c lukewarm water. When dissolved in 10 minutes or less, add honey and 1 c flour and mix thoroughly with a wooden spoon. As you continue to stir, gradually add 1 T olive oil, 1/2 T salt, 1/4 c water, and 1 c more of flour. Repeat with 1/4 c more of water and 1 c flour. Add enough additional flour and/or water to make a soft, manageable (not sticky) dough.
Take the dough out of the bowl, slap it (hard) on the counter several times, fold it over and push it away from you using the heel of your hand. Fold and push, fold and push. Continue kneading for about 10 minutes, giving the dough a quarter turn a few times during the kneading process. You're looking for a resilient dough that springs back when poked. Pat the kneaded dough into a round shape and place it back into the bowl which you have greased with 1 t of olive oil. Rub a little extra olive oil over the dough. Cover the bowl with plastic wrap and put in a warm place to rise until doubled- about 3 hours.

Preheat the grill medium to medium-high heat.
Divide dough in half, and place one piece back into the bowl. Punch down the piece you will be using, and with your hands try to push it into a rough circular shape. Sprinkle the peel or cookie sheet with a good amount of cornmeal so the dough does not stick. Place the dough onto the prepared surface and roll it out to approximately 12 inches in diameter. Try to leave the outside "rim" a little thicker than the rest of the dough.

With a forceful "flick", jerk the peel or cookie sheet to slide the dough onto the grill.
If you want grill marks on both sides, turn the dough over when it looks good (probably 5-10 minutes each side). If not, when the dough starts rising you can add your sauce and toppings. Either way, brush garlic olive oil (and bits of garlic) onto what you decide will be the "top" of the dough BEFORE adding other toppings if you're using it. Once again, it will probably only take up to 20 minutes to finish cooking each pizza. Just keep peeking at it for desired doneness (both top and bottom)!

Remove pizza or flatbread using cookie sheet or peel and move to a cutting board for slicing. Repeat the process with the second piece of dough.

******************

Garlic Oil

1/2 c olive oil
4-6 garlic cloves, minced or pressed through a garlic press

Place olive oil in a small saucepan and add garlic. Heat the olive oil over low heat until it simmers. Turn off the heat, remove the pan from the heat and set aside until you are ready to use.
(*I also like to add a little salt, pepper and maybe crushed red pepper flakes to this, paint it on French bread and grill it to make some very nice garlic bread!)

Monday, July 5, 2010

Chard and Onion Omelette


This recipe was particularly great for me to make at the time because I had EVERYTHING I needed. Eggs from the chickens, herbs and chard from the garden...


It's also one of those things you could have at any time of day, for any meal: breakfast, lunch or a light dinner with a salad.


It's so nice to just run outside and get what you need!
We keep onions around and of course there's always the staples of salt, pepper, olive oil, Parmesan, and Swiss cheese (ok, so the last two may not be staples for everyone...).


Chard and Onion Omelette
From Vegetarian Cooking for Everyone by Deborah Madison
Makes 1 10-inch omelette, serves 4-6

3 T olive oil
1 large red or white onion, quartered and thinly sliced crosswise
1 bunch of chard, leaves only, chopped
salt and freshly ground pepper
1 clove garlic
6-8 eggs, lightly beaten
2 T chopped parsley
2 T chopped basil
2 t chopped thyme
1 c grated Gruyere
2 T freshly grated Parmesan

Heat 2 T olive oil in a 10-inch oven proof skillet, add the onion, and cook over low heat, stirring occasionally, until completely soft but not colored, about 15 minutes. Add the chard and continue cooking, stirring occasionally, until all the moisture has cooked off and the chard is tender, about 15 minutes. Season well with salt and pepper.
Meanwhile, mash the garlic in a mortar and pestle with a few pinches of salt (or mince finely together), then stir it into the eggs along with the herbs. Combine the chard mixture with the eggs and stir in the Gruyere and half the Parmesan.
Preheat the broiler. Heat the remaining oil in the skillet and, when it's hot, add the eggs. Give a stir and keep the heat at medium-high for about a minute, then turn it to low. Cook until the eggs are set but still a little moist on top, 10 to 15 minutes. Add the remaining Parmesan and broil 4 to 6 inches from the heat, until browned.
Serve in the pan or slide it onto a serving dish and cut it into wedges.