Tuesday, December 7, 2010

Mushroom Risotto

Align Center

I think this is my favorite risotto recipe.
I love mushrooms though. I had a roommate once who would not eat mushrooms since they happen to be a fungus, and that was just against her personal philosophy or something. Not that she'd tried them and hated them, but she just refused to try them. Too bad for her (because there are so many kinds of them and they're so good). Oh, well.


Dried Porcini mushrooms aren't much to look at, but they add TONS of flavor to chicken broth. And the color goes from a weak, watery gold to a more robust, ruddy brown.


It's an earthy and special dish, really good for cold weather, and would make a great vegetarian dish if you wanted to use vegetable broth...


I used 3 types of mushrooms in this one: dried porcini, white button, and baby portobellos (aka crimini mushrooms). To me more types of mushrooms = more complexity. But, I won't say we have to go overboard here.


The white mushrooms are nice (as always), but the portobellos add a nicer flavor (in my opinion, anyway). They're the same mushroom, but the white variety is actually a cultivated anomaly of the browner and more mature portobello.


So, perhaps it's my imagination, but I think they're meatier and earthier.
If all you can find, or all you want to use is white button mushrooms, that's just fine!


When making risotto, it's very important to use risotto rice: Carnaroli, Arborio, or Vialone Nano. In the U.S. however, you're likely to find it labeled as "risotto rice." These types are short- grained, starchy, able to absorb a lot of liquid, and will yield a firm, chewy, and creamy risotto. If you were to use generic white rice, you'd end up with something a little more akin to mush or gruel. Mmmmm, lovely.


Align Center


It's important to keep stirring! You want the grains to cook evenly, stay in contact with liquid so it can be absorbed evenly by the grains, and you want to keep the rice from sticking to the bottom of the pot! However, "drowning" the rice in too much broth isn't a good idea either if it happens to seem like a remedy to this situation. One of the keys to a creamy risotto is slowly adding the hot broth. And really, it doesn't take that long to make risotto, patience is possible.
Plus, if you decide to increase the amount of risotto you're making, the good news is that it doesn't add much extra time to your cooking.


Oh! And you may not need to use all of the broth for the rice- that's ok!

Confused about whether it's done? Taste it!

P.S. I'm aware that rice is not pasta, but that's just how I decided to classify it because it can fill the same need.

Mushroom Risotto
6 side-dish servings

6 c chicken stock
1/2 oz dried porcini mushrooms
1/4 c unsalted butter
2 c chopped onion
10 oz pkg baby portobellos, washed and sliced
8 oz white button mushrooms, washed and sliced
(*at least 1 # of mushrooms total- it could be ALL white button mushrooms if you wish)
2 garlic cloves, minced
1 1/2 c risotto rice, preferably Arborio
2/3 c white wine
2/3 c finely grated, fresh Parmesan cheese
salt
fresh pepper

Bring the broth to a simmer in a heavy medium-sized saucepan. Add porcini mushrooms, cover and set aside for at least 15 minutes until mushrooms are tender. Using a slotted spoon, remove the mushrooms and chop finely. Cover the broth and keep warm over low heat.
Melt the butter in a large, heavy saucepan over medium heat. Add the onions and saute until tender, about 8 minutes. Add the fresh mushrooms, porcini, and garlic. Saute until the mushrooms are tender and most of the juices have evaporated, about 1o minutes.
Stir in the rice and cook, while stirring a few minutes so that the grains are coated with butter and mushroom. Add the wine and cook, stirring often, until the liquid is absorbed- this should only take a couple minutes! Add 1 cup of broth and stir the rice mixture. Simmer the risotto over medium-low heat, stirring often, until the liquid is absorbed. Add more broth by the cupful as it is absorbed by the rice. Continue cooking, adding broth, and stirring until the rice is tender and the mixture is creamy, about 30 minutes or so.
Mix in the Parmesan cheese and season the risotto with salt and pepper to taste.

Wednesday, December 1, 2010

Dill and Shallot Shrimp


This is a nice little bite as an appetizer, and the sauce that is left is great for dipping bread... OR I thought it might be good if you made it with smaller shrimp and used the whole dish as a sauce for pasta.


The main flavoring for this dish is a compound butter.
Compound butter is a mixture of butter and other ingredients: onions, garlic, herbs, cheese, spices, citrus zest...


The butter can be used as a finishing sauce for a good piece of beef (as they do in many nice restaurants- it melts right over the warm meat) or various types of seafood. When melted, the butter can be used as a dip for breads or vegetables.


When making a compound butter, you can store it in the freezer or refrigerator wrapped in plastic or waxed paper and shaped into a log. Just slice of what you need!


If you want to serve individual portions with 2 shrimp per person, the shrimp can be baked in 10 individual ramekins, otherwise place all the shrimp and compound butter in an 8x8 or 9x9 baking dish. Baking time will be less than 20 minutes... I would say perhaps start with 10 and check the shrimp occasionally after that to make sure it's translucent and cooked.


To clean the shrimp, peel off the shell- but leave the last joint and tail of the shrimp intact. Make a shallow cut down the back of the shrimp, exposing the vein. Pull this out, discard, and rinse the shrimp in cool water.


Dill and Shallot Shrimp
makes 20

20 jumbo shrimp/king prawns, uncooked, peeled and deveined
3/4 stick (6 T butter) at room temperature
2 T finely chopped dill
1 small shallot, finely minced
1/3 c white wine
salt
pepper

Preheat oven to 375 degrees with the rack in the middle.
Season shrimp with a bit of salt and pepper and set aside.
Mix the dill and shallot into the softened butter along with 1/4 t each of salt and pepper. Place about a teaspoon of the butter in each ramekin and add two shrimp on top of the butter. Divide the white wine among the ramekins (about 1 1/2 t per ramekin) and divide the remaining butter among each of the dishes, on top of the shrimp. Place the ramekins on a sheet pan and put the pan in the oven. Bake for approximately 20 minutes, until the shrimp are just cooked through.

Friday, November 26, 2010

Roasted Garlic


I'm not particularly a fan of shopping, and I'm really not a fan of shopping on the day after Thanksgiving or Christmas Eve. I would not choose to be out at all, but I KNOW from experience I totally prefer to be behind a store counter than in front of it! Somehow it seems safer...


I hate crowds and traffic, and "deals" really aren't much of a draw for me. It's certainly not a good time and I just don't want to play that game. Ugh.


I had to run to the grocery store the day before Thanksgiving just like millions of other people, and it always surprises me when displays look sparse, or they run out of things. I dodged elderly, yet determined women with their shopping carts and was reminded of how much I really prefer empty stores.


After the Thanksgiving feasting, it's nice to have a little something more simple... things that don't take a lot of work or much "hands-on" time.
Some people may balk at the idea of eating whole cloves of garlic. Maybe they feel it's not socially responsible?


Anyway, when garlic cloves are cooked whole they're caramelized, much more delicate, subdued, and sweet than when they're minced. You get more intense garlic flavor when more of the cells in a clove of garlic are broken down. The more oils and juices that are released, the stronger the flavor.


I have an extreme preference for fresh garlic when cooking. I don't like it very much when it's pre-chopped or pickled and jarred.


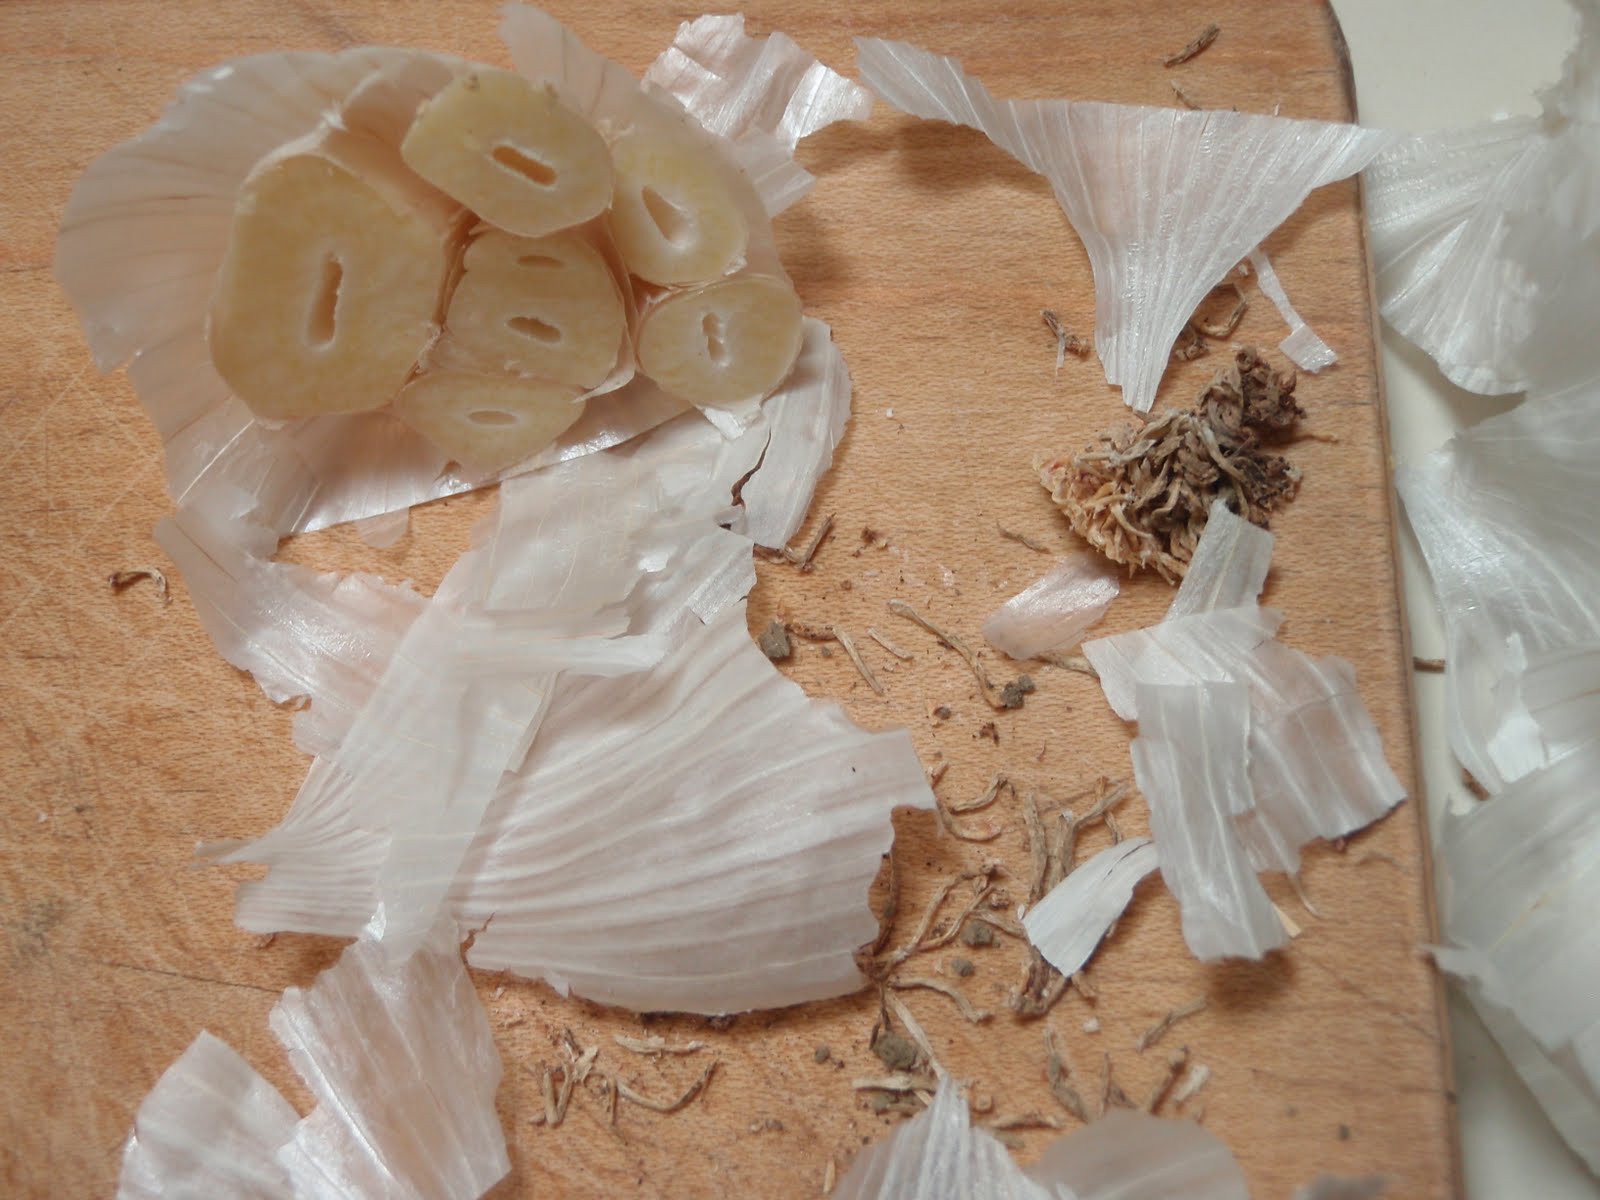
When choosing garlic, make sure it's fresh. You want to pick out bulbs with cloves that are tight, and you want to make sure the papery skin is also fairly tight on the bulb (of course, being papery, it will come off to some extent). Store it in a cool, dry place, but make sure the garlic has space and air circulation.


This is a really simple recipe that can be used spread on crackers or crostini sprinkled with a little salt and pepper and fresh herbs, on pasta, eaten with apples and cheese, mixed with softened butter or mayonnaise, spread on a sandwich, kneaded into bread dough, or mixed into soups or mashed potatoes for a little extra flavor.


If all else fails, you can just make sure to keep strong breath mints handy.
And please be nice to salespeople.

Roasted Garlic

3-6 bulbs of garlic
about 1/4 c olive oil

Preheat oven to 350 degrees F.
Cut off the tops of the garlic bulbs so that each clove is exposed. Place the garlic on a piece of tin foil and pour about a teaspoon of olive oil over each bulb. Let the olive oil soak into and between the cloves of garlic a couple minutes. Drizzle more olive oil over the bulbs of garlic, place another piece of foil over the garlic, and crimp edges of the foil together so that the package is airtight. Put the foil package on a pan or oven-safe dish and place it in the oven for 50 minutes to an hour. Let cool a little then open the foil package. When you are able to handle the bulbs of garlic safely, scoop or squeeze the cloves of garlic out of the papery skin and use as desired.
Roasted garlic should keep a few days refrigerated in an airtight container.

Monday, November 22, 2010

Pumpkin Panna Cotta


Think of this as a pumpkin pie alternative... a crustless, cool and creamy pumpkin (egg-free) custard.


I decided I had to post this before Thanksgiving.


It's not too fussy and not a last-minute dessert. But somehow, it's more elegant than pumpkin pie.
It's served cold.


All cooking is done on the stove top- no oven, no boiling water.
It's gluten-free, and can be dairy free if you make it with coconut milk (but to be honest with you, I made it a few times before getting it the way I wanted, and I really didn't like it when I made it with coconut milk).


I REALLY like it with a drizzle of caramel sauce and a dollop of cinnamon whipped cream... it tastes very "holiday" to me. Holiday with a little kick.


You don't have to use alcohol in your caramel sauce. Instead, you could use a little extra water or maybe some coffee.


One little note on gelatin:
Do not boil the gelatin in the liquid- there's a chance the gelatin won't thicken the panna cotta properly.
Eat within 24 hours for the best consistency.


Pumpkin Panna Cotta
makes about 8-10 6-oz ramekins

1 1/2 c packed pumpkin puree
2 3/4 t gelatin powder
1 c water
1 c heavy cream
1 c whole milk
3/4 c packed brown sugar
1/4 t salt
rounded 1/2 t cinnamon
1/8 t freshly ground nutmeg
1/2 t vanilla extract

Sprinkle the gelatin over 1/2 c water and set aside to soften.
Combine cream, milk, 1/2 c water, brown sugar, salt, and pumpkin in a medium saucepan over medium heat. Whisk together and stir occasionally until it has heated to a simmer. Remove from heat, add softened gelatin, and stir to combine.
Pour the pumpkin mixture into a blender or food processor, and pulse a few times to fully incorporate the gelatin. If you use a smaller food processor or blender you may need to divide the mixture and perform this step in two batches so you don't have an explosion of hot liquids in your kitchen.
Pour the mixture back into the pan, add the nutmeg and cinnamon, and heat again to a simmer, stirring occasionally. Once the mixture has reached a simmer, remove from heat and stir in vanilla.
Divide the mixture among custard cups or ramekins and refrigerate. Cover the dishes with plastic wrap once they are no longer hot and return them to the refrigerator.
Refrigerate at least 4 hours and up to overnight.


They may be eaten directly from the ramekins, or unmolded onto a plate. To unmold, run a thin, sharp knife around the perimeter of the custard, with the knife firmly against the inside of the ramekin, and invert the ramekin onto a plate. Holding the ramekin and plate together with both hands, shake forcefully a few times so that the panna cotta falls out of the ramekin and onto the plate (you may be able to hear and feel it). Pull the ramekin off the plate and garnish as desired before serving.


Bourbon (or Brandy) Caramel Sauce

3/4 c granulated sugar
5 T water
pinch of salt

10 drops lemon juice
6 T water
2 T bourbon or brandy
1/2 t vanilla extract

Mix 10 drops of lemon juice with 6 T water in a small bowl and set aside.
Heat 5 T water, a pinch of salt, and 3/4 c sugar in a medium saucepan over medium heat. Swirl the pan occasionally to help dissolve the sugar, but do not stir it with a spoon or spatula. Once the sugar is dissolved, continue to heat and swirl the syrup. It will thicken, the bubbles will slow down and become larger as it cooks, this may take 20 minutes. Continue heating the syrup while it caramelizes and becomes golden in color- you're looking for a deep golden amber. Watch the caramel carefully as it can suddenly go from perfect to burnt, and swirl the pan so that it caramelizes evenly. Once the caramel reaches the desired doneness carefully pour in the lemon water. Be careful, it will splatter! Swirl and stir the pan until the caramel is fully dissolved. Remove from the heat and let the pan of caramel cool. Stir in the brandy or bourbon and vanilla.
Caramel sauce can be made ahead of time and stored in a glass jar at room temperature. Any extra could be used on top of ice cream, on cheesecake, in coffee...