Thursday, April 25, 2013

Beet Dip


Australians seem to love their beets (just an observation).
They'll even put beets on their hamburgers (and that goes for McDonald's, too).

I have no idea why, but they do, and beets will always be something I associate with Australia.
Funny, since beets don't seem to be the natural thing that comes to mind when you think of the place. I mean, Eastern Europe/borscht/beets, YES... the stereotypical association makes much more sense.
Australia/kangaroos/beach culture/beets?


Not that beets are bad.
No way am I saying that.


As I've said before, I used to hate them (I ate them only when I had to at the dinner table, and only while holding my breath as well as my nose so as not to taste their dirt-like flavor, and after swallowing making sure to wash them down quickly with milk or water... no joke, beets were a very dramatic vegetable for me).


Beets and I are on better terms these days.
Mostly roasted is how we go, frequently in a salad, sometimes all on their lonesome in more of a vegetable main attraction role.


It's a little different, but another preparation for beets is in a dip, and a version of beetroot dip is something you can find at the grocery store in Australia right alongside the hummus.
A lovely shade of creamy magenta that couldn't be anything but beets, it tastes great, and it's a way to get a bit more iron into your day.
And it's something that my aunt Jane seemed to always have on hand as a snack for late in the day while dinner was being prepared.
I'm happy to have been introduced to it.
And I'm partial to rice crackers as the vehicle for consumption- it's how we (dip and I) were introduced.


Leftover roasted beets? This may put them to good use and makes the recipe even easier.
You know, it tastes better than dirt, too. Now if that's not a ringing recommendation, I don't know what is.


Ideas for garnishes and accompaniments:
sliced green onion
minced parsley
sesame seeds
chèvre or feta
za'atar (mine is blend from Penzey's- sumac, thyme, sesame seeds, salt)
extra sour cream or Greek yogurt
olive oil or walnut oil
toasted almonds or walnuts

Beet Dip
adapted from a Bill Granger recipe
makes about 3 c/ 720 ml

1 lb. (450 g) beets
olive oil
2 cloves of garlic, minced
1 1/4 c (285 g) sour cream or Greek yogurt
1-2 lemons
1 t (3 g) cumin
1 t (2 g) coriander
1/2 t (3 g) hot chili sauce- such as sriracha
kosher or sea salt
freshly ground black pepper

Preheat the oven to 375 F/190 C.
Top and tail the beets and rinse of any dirt.
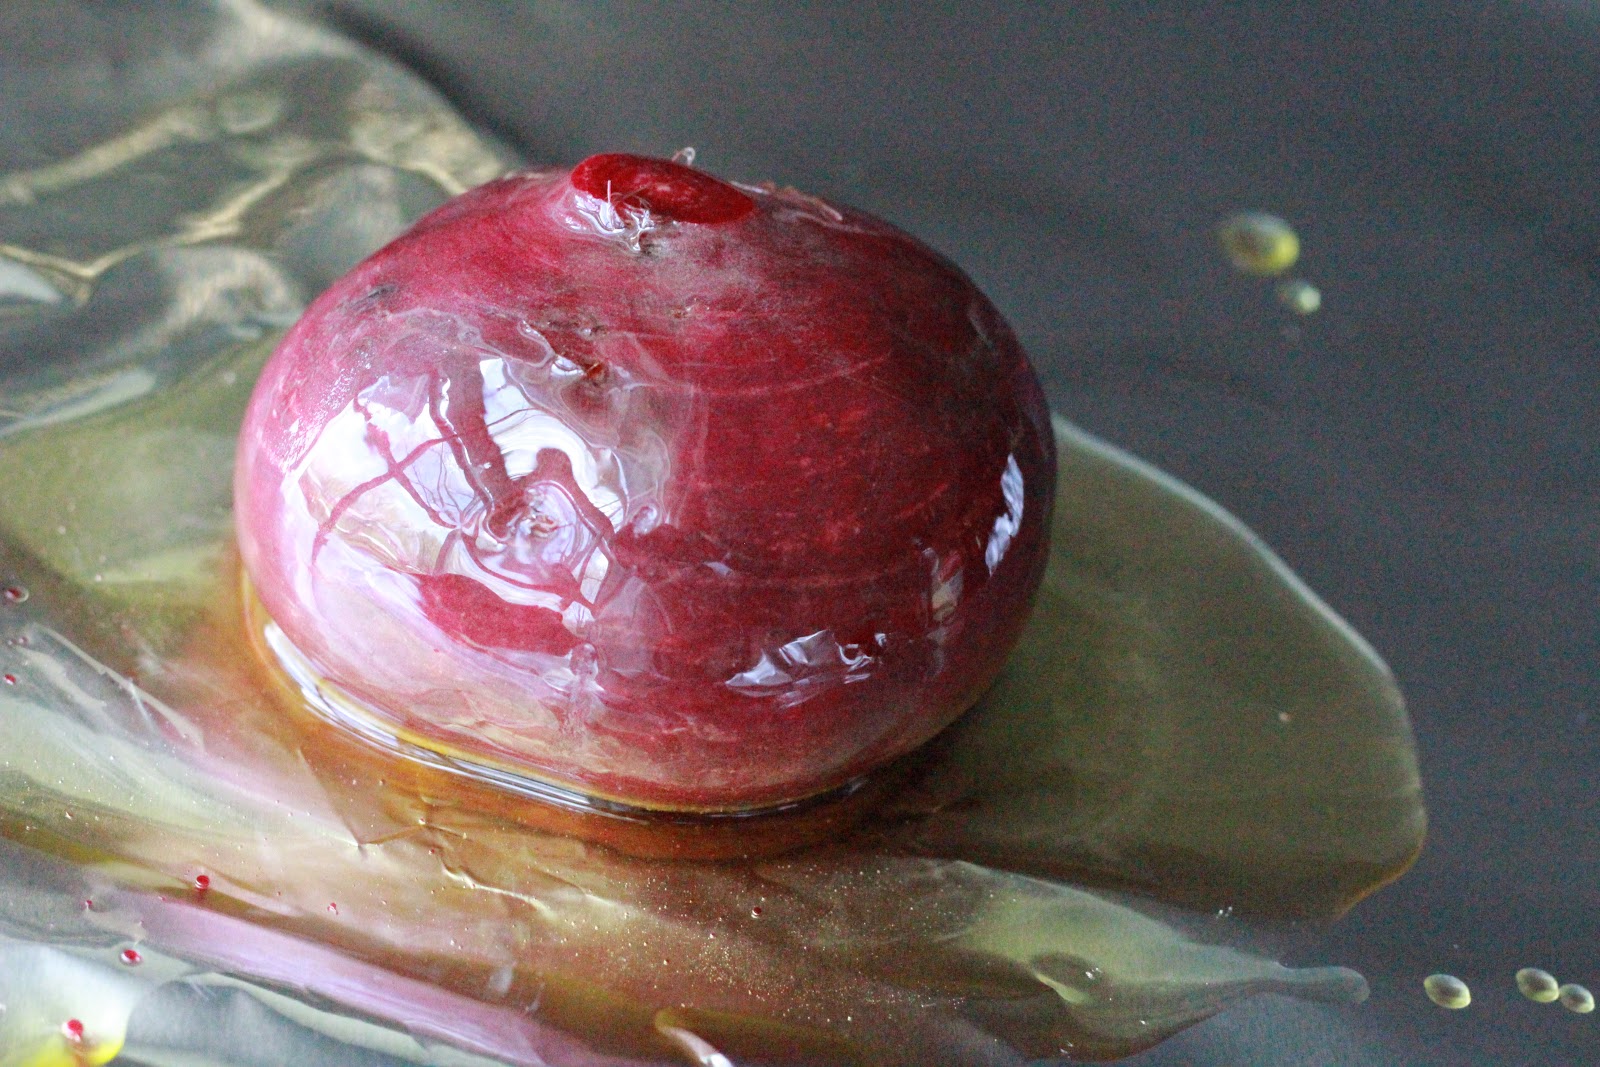
Massage the outside of the beets with olive oil, and tightly wrap each individually in aluminum foil. Place the foil packets on a baking sheet. 
Roast the beets 1- 1 1/2 hours, or until tender enough to slip the tip of a sharp knife very easily into the beets.
Remove the pan from the oven and carefully open the foil packets to vent a bit. Let the beets rest until cool enough to handle. 

Pour any extra olive oil from the foil packets into a small bowl and reserve. Peel the beets (the skins should easily slip off the beets if you use your fingers or a blunt knife), and roughly cut them into wedges. 
Place the beets, minced garlic, and sour cream or yogurt into the bowl of a food processor and process until smooth. 
Add 1 T/15 ml olive oil (the reserved olive oil plus any extra to make up the difference), the grated zest of 1 lemon, 2 1/2 T (40 ml) lemon juice, cumin, coriander, and chili sauce. Process the mixture a minutes or two until everything is well-combined.
Season to taste with salt and pepper (I start with 1 t/7g and 1/4 t/1 g, respectively). Pulse several times until everything is incorporated and adjust as desired with lemon juice, and/or chili sauce.
Serve with crackers or sliced pita.
Refrigerate any extra in a covered container.

Extra dip might be nice on a sandwich.
I don't know, but I'm wondering if it might not be a good condiment with fish...

Friday, April 19, 2013

Raspberry Panna Cotta


It's reminiscent of a delicate raspberry ice cream, but not as cold.

In addition to cream, this panna cotta is made with yogurt- which adds a nice little tang.
It's not an overly rich dessert, and another really nice characteristic is that since the yogurt itself isn't cooked it retains most, if not all, of it's cultures.


The texture is great, with just enough gelatin to hold it together, not overly firm by any means.


I guess the one pain involved is straining out the raspberry seeds. If the strainer is very fine, the job can take forever (and personally, I don't mind a few stray seeds finding their way in here and there... at least  people will get the idea you used real raspberries, right?).

If you want to amplify the raspberry flavor, you can certainly serve the panna cottas in a pool of raspberry sauce. But in that case, you risk the delicate raspberry flavor of the crème being overpowered.


Other garnish suggestions:
a little lime or lemon zest on top of each
extra fresh raspberries
white chocolate curls
a bit of crushed meringue on top and around the plate
fresh mint leaves


Raspberry Panna Cotta
makes 8 (6 oz. ramekins)

12 oz (340 g) raspberries
1/2 c (120 ml) whole milk
2 t (8 g) powdered gelatin
2 c (490 g) plain yogurt (full-fat is preferable)
1 t (5 ml) vanilla
1 c (240 ml) heavy cream
2/3 c (130 g) sugar
pinch of salt


Place the raspberries in a blender with the whole milk. Blend until the berries are completely broken down. Strain the mixture into a large bowl through a mesh strainer (or non-mesh/not-so-fine strainer lined with a couple layers of cheesecloth) to remove the raspberry seeds. 
Remove about 1/4 c (60 ml) of the raspberry mixture to a small bowl. Sprinkle the gelatin over the top, stir to incorporate, and set aside to soften.

Whisk the yogurt and vanilla into the (non-gelatin) raspberry mixture and set the bowl aside. 

In a small saucepan, heat the cream, sugar, and salt. Stir occasionally and continue heating until the cream simmers and the sugar has dissolved. Whisk the softened gelatin into the hot cream, making sure the gelatin is fully incorporated.
Pour the cream mixture into the yogurt mixture and whisk everything together until well-combined.

Ladle the liquid panna cotta into 8 ramekins or custard cups. Cover with plastic wrap and refrigerate at least 8 hours. 

The desserts can be served either in the dishes, or unmoulded onto a plate. 

If unmoulding, have a bowl of hot water prepared when you're ready to serve. 
Dip a ramekin into the hot water so that that water comes up the side of the ramekin (but don't drop it into the water). Hold it there a few seconds so that the dish and the outside of the panna cotta heats up and melts a bit.  Pull the ramekin out of the water, dry the outside, and place a small plate face down on top of the ramekin. Invert the plate and ramekin together, hold everything together tightly, and give a few good shakes. The panna cotta should fall out of the dish and onto the plate (you should be able to feel and hear it). 
Remove the ramekin from the plate and repeat with the remaining dishes. 

Garnish as desired and serve. 

Friday, April 12, 2013

Roasted Rhubarb


The word rhubarb comes from Latin- barbarum for "foreign". Rha was the name the Volga River was know by in medieval times, and the plant may have been additionally named after it as rhubarb came from the foreign lands east of the Volga. 
(Thank you, Harold McGee.)


In the spring rhubarb is out in full force, and if not so full force yet, it will soon be. 
It's funny how those vibrant stalks almost look out of place with the rest of the produce (yes, it's a vegetable mostly used as a fruit). One might think that with the shocking color it can have, rhubarb might be much more sweet and fruity than it is... but it wouldn't make for such a nice surprise if someone decided to take a bite out of a raw piece.
Then again, you do find some variability in the sweetness vs. tartness. 


If they're roasted, pieces of rhubarb more or less retain their shape.
In addition, I think the rhubarb flavor more intense with the all-encompassing heat from the oven.


After roasting, the pieces of rhubarb remain a little tart, and the light syrup has just enough sweetness- but not too much.
If you would like the dish more uniform in flavor and jammy in consistency, a better way to cook might be on the stovetop. Maybe bring the mixture it to a simmer and reduce the heat, stirring every now and then to break up the pieces of rhubarb and to make sure nothing scorches.

If you like it sweet, of course, you could add more sugar. But I figure rhubarb IS tart, it's just the way things are. Why try to completely mask it?
As an example, I recently had a tiny scoop of rhubarb-lemon verbena sorbet at a restaurant between courses. It was tart, as it should be, but it was perfect.


Serve with plain yogurt, rice pudding, meringues and whipped cream, crème fraîche, a little whipped mascarpone, ice cream, custard... preferably with something white and creamy in the equation.
Plain cake works, too.


Other things that might be nice additions include:
ginger
lemon instead of orange
a broken cinnamon stick
raspberries
strawberries


Roasted Rhubarb

2 lb. (907 g) rhubarb (about medium-sized if you can find them)
2/3 c (130 g) sugar
1 vanilla bean
1 orange
1/3 c (80 ml) white wine

Preheat the oven to 325 F/160 C.
Trim the rhubarb and cut into about 2 inch (5 cm) pieces and place in a large bowl and sprinkle the sugar over the top of the rhubarb.
Split the vanilla bean lengthwise, scrape out the seeds, and add both the seeds and empty pod to the rhubarb. Zest the orange directly over the rhubarb mixture, and then juice it and add the juice to the bowl. Pour in the white wine and gently toss the rhubarb so that all of it becomes coated with everything.
Tip the rhubarb mixture into a 9x13 inch pan (something flat and 2-3 L or so), and scrape out any bits that stick to the bowl. Cover the pan with aluminum foil and roast about 30 minutes, or until the rhubarb is tender. Remove the pan from the oven, carefully remove the foil and let the rhubarb cool before serving.
Serve the rhubarb in it's syrup warm or at room temperature.

Thursday, April 4, 2013

Salmon Rillettes


Potting food is a old form of preservation, and the results can be quite elegant.
Well, maybe it wasn't so "elegant" per se once upon a time- it was more of a necessity.


Rillettes, most commonly pork, happen to be one of those types of potted foods.


In many ways rillettes is similar to a pâté or a confit.
It's normally meat that is slowly cooked in fat, shredded, seasoned, and packed into jars or pots with an extra layer of fat poured on top. The purpose of the extra fat is to keep the food from going bad since it provides a seal, blocking anything harmful from getting in.


Salmon is quicker to prepare and also makes a lighter version of rillettes than it's meat counterparts (pork, rabbit, goose, duck). This lightness is in large part due to the fact that fish is a leaner protein than many of the other options. While salmon in particular is not as lean as some other aquatic possibilities (but as a side note the fat in salmon is good fat!), it still has nowhere near the amount of fat that a pig does.
Poor fish.
To round things out, some fat is added to the salmon, and thus butter becomes a suitable substitute for what the fish lacks.
All rillettes have fat. Really, a salmon version is lighter than other types, I promise.


The egg and crème fraîche additions help bring a bit more richness to the rillettes without being excessive.


The results are creamy and meaty, a little smokey with a bit of zing.

Flavors improve and meld after several hours in the refrigerator, so making this a day ahead is recommended. Besides, if it's made ahead it saves you from last-minute stress.


It's got more of a meaty texture than pate, but it's still a spreadable appetizer. 

Serve rillettes with toast points or thinly sliced baguette, and perhaps capers, cornichons, chives, parsley, or maybe some Dijon mustard. The contrasting vinegary accompaniments served with food like pates or rillettes help cut some of the richness and add a bit more interest in both flavor and texture.


I was also thinking it might be nice with cucumber or celery, but I haven't tried it yet...


Salmon Rillettes
adapted from Thomas Keller's Bouchon
makes about 3 c

1 lb. (453 g) raw fresh salmon, pin bones and skin removed
1 1/2 t (12 g) kosher salt
4 sprigs thyme
1/4 t (1 g) freshly ground pepper (As an aside, Keller uses white, but I personally don't like it's scent or taste. I'm not saying this is the way for Keller, but many times it's particular purpose is only aesthetic within a recipe. Frankly, I don't mind the look of black.)
1 T (15 ml) white wine
zest of 1 lemon

8 T (113 g) unsalted butter, at room temperature (divided, 1 T and 7 T)
1/2 c (60 g) minced shallots
generous 1 T (32 g) crème fraîche
4 oz (113 g) smoked salmon, diced and room temperature
2 T (30 ml) fresh lemon juice
1 T (15 ml) extra virgin olive oil
2 large egg yolks (organic if possible), lightly beaten

8 oz (113 g) butter


Place the salmon on a large dish or shallow pan. Sprinkle the salt all over with salt and pepper, thyme and lemon zest. Pour the white wine over the salmon, cover with plastic wrap and refrigerate a hour, turning once halfway through.

Bring a couple inches of water to a simmer over medium heat in the bottom of a steamer. Place the salmon in a steamer basket above the simmering water, reduce the heat and cover. You should not see steam coming out the side of the lid- if so, reduce the heat. Cook about 8-10 minutes, until the salmon is medium-rare (check the center by using a sharp knife to look between the center layers). Remove the salmon from the steamer and set aside on a plate.

Saute the shallots in 1 T butter about 2 minutes. Add 1/4 t (2 g) salt and saute a couple minutes longer until the shallots are softened and translucent, not at all browned. Set aside to cool.

Whip the 7 T softened butter in a medium bowl with a rubber spatula until smooth and the consistency of mayonnaise. Fold in the crème fraîche until combined.

Flake the cooked salmon in large pieces into a large bowl. Add the smoked salmon, lemon juice, olive oil, and egg yolks. Gently stir to combine. Fold in the whipped butter mixture. Season the mixture to taste, but generously, with salt and pepper (as the rillettes will be served cold, you want to make sure the flavors are present).

Spoon the rillettes into a terrine, small jars, or ramekins (several smaller containers are probably best if you don't have a large group to eat the rillettes all at once). Leave at least 1/2 inch space between the top of the rillettes and the rim. When packing the rillettes into the dishes, try to remove any air pockets. Smooth the surface with the back of a spoon and wipe the top and inside of the rim clean.
Refrigerate the rillettes 1 hour

To quick-clarify butter and seal the pots of rillettes, melt the butter in a small saucepan over low heat. Do not disturb the milk solids that have fallen to the bottom of the pan, you want them to remain separate from the rest of the butter. Spoon off any foam or solids that float to the top. Skim the clear melted butter from the pan and spoon over the cold containers of rillettes. Let sit a moment so the butter thickens a bit then place the containers back into the refrigerator.

Refrigerate at least several hours before serving.

Before serving, remove the layer of butter. Serve with toast points or thinly sliced baguette, cornichons, capers, chives, parsley, and/or Dijon mustard. 

Once the butter has been removed, eat the rillettes within 2 days.
Consume all rillettes within a week.

Sunday, March 31, 2013

Roasted Baby Artichokes with Lemon Vinaigrette


The flower bud from a type of edible thistle, artichokes are a different kind of vegetable- a little earthy and somewhat sweet, they luckily happen to be in season in the early spring.
If you've ever seen them growing in a garden, they're actually quite beautiful (maybe unexpected when you see them for the first time, but still beautiful).


And as big as they might appear, one ends up eating very little of the actual plant. The leaves of an artichoke are quite tough and indigestible. Instead, it's the bit of meat at the base of each leaf that it eaten, in addition to the meaty heart inside that ends up being the prize at the end.


With baby artichokes, you can eat a bit more of the plant (the stem is particularly good, and at least here, there's not much of a stem left on the large artichokes when you see them piled up on a produce display... and if there is any, most people cut it off so that the artichoke sits flat while it steams).


If you feel like taking on a pile of baby artichokes, have at it.  It's just you and your knife against a pile a prickly little vegetables.


So it's true, they're not the easiest vegetable to deal with- they take a bit of effort.
The prep work may seem a little daunting, most people probably wouldn't want to deal with it.
But they're special and it's worth it.


A freshly prepared artichoke is so different from the canned variety, likewise a baby artichoke is more tender than the large variety.

Baby artichokes work well as a vegetable side or main, maybe chopped and added to a plain risotto, or as an appetizer with a glass of white wine.


Roasted Baby Artichokes with Lemon Vinaigrette
serves 6 or more 

24 baby artichokes
8 T (120 ml) olive oil, separated
kosher salt
freshly ground black pepper
3-4 lemons
4 cloves of garlic, minced
2-3 T (a small handful) minced parsley


Prepare a bowl of acidulated water by filling a large glass or stainless steel bowl with water (maybe a generous 2 qt or 2 L) and juicing two lemons into it. Drop the juiced halves into the water if you would like.

To prep the baby artichokes:
Remove the outer leaves until you come to a layer that is tender-looking and more of a spring green shade (it will probably be several layers down). Cut off the top 1/3 of the leaves. Cut off the dry and/or dark end of the stem, and with a paring knife or vegetable peeler trim the outer layer of the stem and the area at the base of the artichoke leaves.
Cut the artichokes in half lengthwise and drop them into the acidulated water. Repeat with remaining artichokes.
This step could probably be done a couple hours in advance.

Prepare the lemon vinaigrette by placing the minced garlic, zest of one lemon, and 3 T (45 ml) lemon juice into a bowl. Whisk in 4 T (60 ml) olive oil and season with 1/4 t (2 g) salt and 1/4 t (1 g) pepper. Set aside.

Preheat the oven to 400 F/205 C.
Drain the prepared artichokes and pat them dry with a kitchen towel.
Toss the artichokes on a sheet pan along with 4 T (60 ml) olive oil, 1 1/2 t (12 g) kosher salt and 1/2 t (2 g) freshly ground black pepper. Turn all the artichokes so they are cut side up on the pan. Roast the artichokes in the hot oven 20-25 minutes, until tender.

Pour the lemon vinaigrette over the hot, roasted artichokes and gently toss to coat. Sprinkle the artichokes with minced parsley and gently toss to combine.
Season with additional salt and pepper if necessary.

Serve warm or room temperature.


Wednesday, March 27, 2013

Spring Rolls


Although it may not look like it, it's spring.


From what I can see as I write, the grass seems to be sporting the "dead of winter" look.  I really do love the snow, but spring is supposed to be more green looking. Though certainly interesting, the almost-April snowstorm seems somewhat inappropriate. It's a bit late.
Well, it'll probably be completely melted within a few days and look and feel much more springlike.


And you know how some foods just seem completely inappropriate at certain times of year? I don't want a hearty stew in July or a tomato salad in the middle of winter.
The same goes for rice paper wrapped (unfried) spring rolls (also called summer rolls).
True, it's not overly warm right now, but even so, spring rolls sound good.
Strange as it may sound somehow, some foods seem like they might edify- it's as if eating them will lead to some sort of self-improvement. Maybe you need a set of guidelines to choose foods in this manner ... as long as there are less than X number of ingredients used, I can pronounce all of them, and they are able to stay relatively al dente, it's edible and good.
Ok, so maybe they won't add anything morally or spiritually, maybe they're not a life changer, but still...
Perhaps I say this about spring rolls because they can be the healthier choice when compared to other options out there. Those heavier foods don't seem so desirable when the weather starts to change. One might feel better in many ways for choosing the healthy over another potential meal, something overly sauced, fried, or greasy.

Sometimes spring rolls utilize only fresh vegetables, but for this version, the filling is combined and quickly sauteed just until the meat is cooked.
But to me, the best part, the part that makes it so vibrant and green-tasting is the scattering of fresh herb leaves laid between the wrapper and filling. It's amazing what a few leaves can do. Each bite ends up being a little different.
Those little bits of green can add so much.


It only takes a handful of simple ingredients, and not a lot of time to put these together.


Although spring rolls can certainly be made vegetarian, these aren't. But really, there's not as much meat as you might expect- just little bits here and there for flavor. I don't know about anyone else, but across the board I think it's best not to go overkill on meat anyway.
Other things that might be good additions or substitutions: mushrooms, red peppers, shrimp, snow peas, lettuce, or egg.


Bean thread (glass noodles, cellophane noodles...) are noodles made out of bean starch.
(Who comes up with these things?)
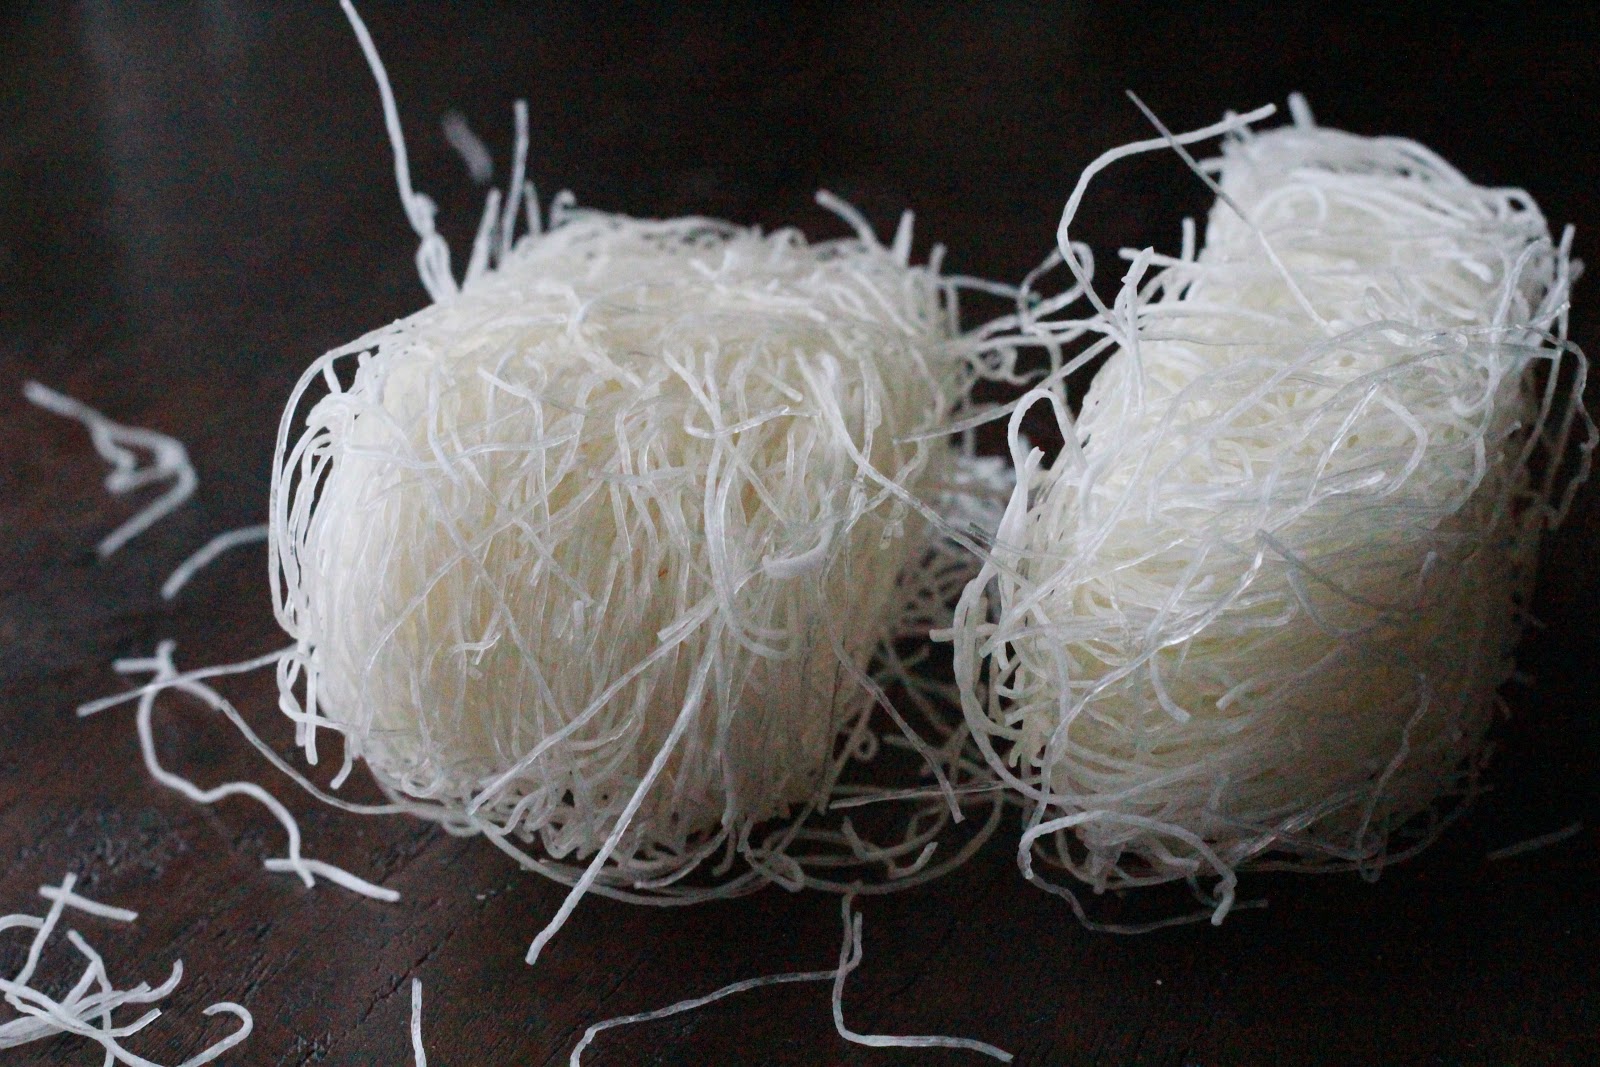
When the noodles are still dry and bundled, they remind me of very pale shredded wheat. After a quick soak in warm water they're conveniently ready to use, whether in a soup, stir-fry, salad, or in spring rolls.


As to the wrappers, which side is up? I find that if I leave a wrapper out at room temperature a bit (maybe because of the moisture in the air) it curls. Right out of my package the concave side was up, and that's the side the filling goes on.  Another way to look at up vs. down is the rice paper surface. While both sides are textured because of the pattern in the rice paper, it's the shiny side that goes up (but I thin the curling method is the easier way to tell since sometimes it can be difficult to differentiate). EIther way just be careful, because if the damp wrapper sits too long on a towel before a roll is rolled, the rice paper can stick to the towel.

And voila, that's it! Simple.


All the bright colors are easily seen through the translucent paper. To me, when rolled and finished, spring rolls in rice paper look a bit like foggy stained glass windows.

Fresh Spring Rolls
(yield depends on the size of your wrappers and the amount of filling used, but you should get about 15 if using 8 1/2 inch diameter pieces of rice paper)

1/2 lb. uncooked minced pork (225 g), crumbled
1/2 bunch green onions, thinly sliced (about 1/2 c or 40 g)
About 100 g bean thread (this was 2 bundles of noodles in the package I used), soaked in warm water a few minutes until softened
2 medium carrots, grated
4 oz (110 g) bean sprouts
2 1/2 T (38 ml) tamari (or soy) sauce
generous 1/2 T (4 g) ground black pepper
generous 1/2 T (10 g) sugar
2 T (30 ml) vegetable oil

Rice paper rolls
Fresh basil leaves (torn if large)
Fresh mint leaves
Fresh cilantro or parsley leaves

Sweet chili sauce, for serving 

Place the bean thread noodles in a bowl and add warm water to cover. Let soak a few minutes until softened. Drain and roughly chop.
In a large bowl, combine the pork, green onions, softened glass noodles, grated carrot, bean sprouts, tamari sauce, pepper and sugar. Mix until well combined.

Heat the vegetable oil in a large dutch oven or wok over medium-high heat and saute the pork mixture until the pork is completely cooked. Remove the filling to a bowl and let cool completely.
(At this point, you can taste the filling and see if it needs anything else. Last time I made a mistake and added double the pepper and sugar since I initially wanted to write for a larger recipe and use 1 lb. of pork, but was only making 1/2 recipe. As it turned out I liked it better that way. I wouldn't recommend that to anyone who's particularly sensitive to that amount of pepper, so I wrote for the lesser amount. You can always add more.)

Partially fill a shallow pan or baking dish with lukewarm water. Working with the wrappers one at a time, dip a rice paper wrapper into the warm water until hydrated and pliable (but not falling apart, they will continue to soften after being removed from the water), 5-10 seconds total. Carefully remove the rice paper from the water bath. Place the softened rice paper wrapper on a kitchen towel to absorb excess moisture and scatter cilantro, basil and/or mint leaves across the surface. Do not over-fill the rice paper. Place a portion of the cooled pork filling mixture along the lower 1/3 to 1/2 of the rice paper with about an inch and a half of rice paper as a border on either side. 3-4 T of the filling seems to be a good amount in my case with a wrapper about 8 1/2 inches in diameter.  Fold the lower part of the wrapper over the filling, keeping the filling tucked in with your fingers, fairly tight and compact.  Fold each of the sides into the center to enclose the filling. Finish by tightly rolling the spring roll away from you to create a cigar shape and complete the spring roll. The rice paper will stick to itself to enclose the filling completely. Place the finished rolls on a plate. It make take a little practice to get neat little compact rolls, so don't get discouraged.  Repeat until the remaining filling has been used.

Serve with sweet chili sauce on the side.

*The filling can be made ahead of time and will keep at least a couple days refrigerated. Do not fill the wrappers until right before you intend to serve the spring rolls as the rice paper can dry out if it sits too long.