Saturday, March 21, 2015

Pumpkin Donuts with Cream Cheese Frosting and Toasted Hazelnuts


I don't care that it's March and spring is officially here: I could eat pumpkin anything at any time of year.
Besides, it's been a little chilly the past couple days- thus all the more reason to work on this cozy flavor.


Besides, I'm trying to only eat "fun" things that I make myself instead of purchasing them. Buying everything can just be way too easy, and this way I can also have more control over everything in the finished product.


These little devils are surprisingly light and very flavorful.
(They're also, sadly, easy to eat.)


The donuts can easily be turned into cupcakes if you haven't got donut pans. However, the baking time may need to be adjusted.


I will say that pumpkin donuts don't technically need the frosting, and in fact they're great plain.
Warm donuts could also be tossed in cinnamon sugar or confectioner's sugar if you'd prefer.
Your prerogative.


If you don't have, don't like, or can't find hazelnuts, pecans also work well.


Pumpkin Donuts with Cream Cheese Frosting and Toasted Hazelnuts
makes 12

Donuts:
8 T (114 g) unsalted butter, melted
2 large eggs
1 c (200 g) sugar
3/4 c (75 g) brown rice flour
1/3 c (42 g) quinoa flour
1 t (6 g) baking powder
1/2 t (3 g) baking soda
1/4 t (2 g) salt
1 generous t (3 g) cinnamon
1/2 t freshly ground nutmeg (too small a measurement for a regular scale- just estimate)
pinch ground cloves
3/4 c (160 g) pumpkin puree
1/2 t (small splash) vanilla extract

Toasted Hazelnuts:
1/2 c (70 g) whole hazelnuts
Cream cheese frosting:
4 oz (114 g) cream cheese, at room temperature
1/4 c (60 ml) whipping (heavy) cream
3/4 c (84 g) confectioner's sugar


Preheat the oven to 350 F/ 175 C.

Grease 2, 6-hole donut pans well with baking spray (I prefer coconut spray here).
Cream the butter, eggs, and sugar in the bowl of an electric mixture fitted with the paddle attachment a few minutes until lightened in color and texture. 
In a medium bowl, whisk together the brown rice flour, quinoa flour, baking powder, baking soda, salt, cinnamon, nutmeg, and cloves. 
Add the flour mixture to the butter mixture and beat together until incorporated. Scrape the sides and bottom of the bowl and add the pumpkin and vanilla. Beat the mixture again for a minute until fully blended. Once again, scrape the sides and bottom of the bowl to make sure everything has been distributed throughout. Pipe the donut batter evenly into the prepared pans (or carefully spoon it in).
Bake the donuts at 15-20 minutes, or until set, lightly browned, and the donuts spring back when lightly touched.
Remove the pans from the oven and let the donuts cool/set a couple minutes in the pan before carefully running a small spatula or a dull knife around the outside circle of the donuts. Turn the pans over and tap the pans onto a rack to release the donuts. Let cool completely before frosting.


To toast hazelnuts, place the hazelnuts on a pan in the already hot oven (350 F). Toast the nuts 8-15 minutes, shaking the pan occasionally to help the nuts toast more evenly. Remove the pan from the heat and place the warm hazelnuts on a towel. Rub the hazelnuts between two sides of the towel to remove most of the skins. Transfer the skinned nuts to a cutting board and chop when cool. 

To make the cream cheese frosting, slightly cream the cream cheese over low speed in the bowl of and electric mixer fitted with the paddle attachment. Scrape the sides of the bowl and add the whipping cream and confectioner's sugar. Cream and whip the mixture on a low speed until creamy and combined. 

Spread the frosting on the cooled donuts and sprinkle with toasted hazelnuts.

Sunday, March 1, 2015

Lentil Soup, Plain and Simple


When I say this is plain and simple lentil soup, I mean that it's not flashy. However, that does not mean it isn't good.
Lentil soup may not be the most gorgeous potage of all time, but it can really be nice and comforting when it's cold outside.
This version of lentil soup is thick, not too brothy, as some lentil soups can be. I suppose in a way it's like split pea soup, but the lentils won't break down very much as those peas tend to do. 
And not being a puree, there's just a bit of tooth to it.


The other thing about this soup is that it contains what I consider staples. The carrots, onions, garlic, celery and olive oil, plus broths are things that should be present in a well-stocked kitchen. Maybe not everyone has lentils laying around, but they're not a bad thing to have in the pantry. Dried and easy to store, they're just waiting to be used.  If they're not already present in your cabinet, perhaps they should be considered as you can easily create a meal without having to run out to the store.


Besides being low in fat and high in fiber, a thick and hearty lentil soup is filling and fabulous in winter. It has a way of really hitting the spot on a frigid day.


Keep some extra broth or water handy in case you’d like to thin it out- perhaps keeping an eye on things as it goes,  and maybe taste the broth for seasoning near the end to see if you’d like a bit more thyme or oregano... just so it gets  a chance to cook together and meld.

Possible soup accompaniments:
olive oil
vinegar
plain yogurt or sour cream
minced fresh parsley, cilantro, or sliced green onions


Lentil Soup 
serves 6-10

3 cups (620 g)  French lentils
3 T (75 ml) olive oil
1 large carrot, diced
2 stalks celery, diced
1 large yellow onion, diced
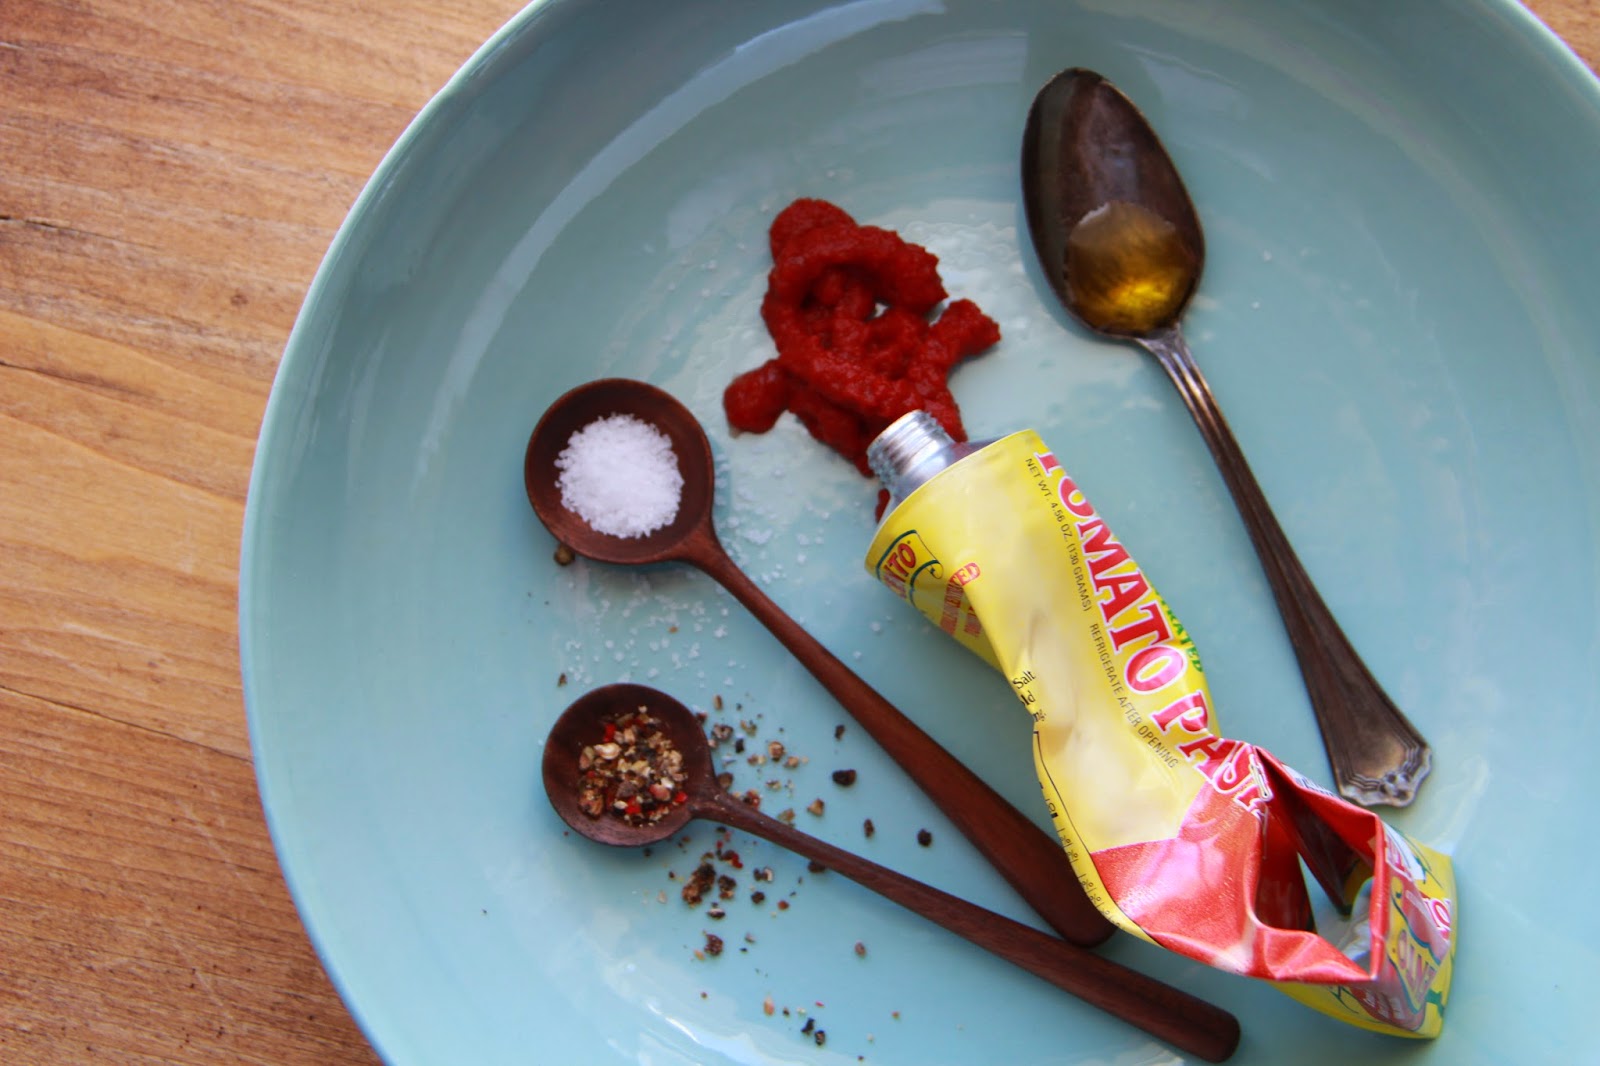
2 T (40 g) tomato paste
6 large cloves garlic, minced
9 cups (2. 12 liters) vegetable broth 
1 T (17 g) kosher salt
3/4 t (less than 1 g, so to taste) freshly ground black pepper
1 t (1 g) dried thyme
1 t (1 g) dried oregano


Rinse the lentils well and set aside.
Heat the olive oil in a large pan over medium heat. Add the carrots, celery, and onions and saute several minutes until the onion is translucent and just begins to color. Add the tomato paste and continue to stir about 2 more minutes. Add the garlic and saute about 30 seconds, until it warms through and begins to smell garlicky.

Pour in the vegetable broth as well as the rinsed lentils. Add salt, pepper, the thyme and oregano, and stir everything through the soup. Bring the soup to a boil, then reduce to a simmer. Place a cocked lid on top of pot and simmer about 1 1/2 hours, stirring occasionally and adding extra broth or water if the soup becomes too thick.
Season to taste and serve as desired.

Thursday, February 19, 2015

Yogurt-Covered Raisins... Or White Chocolate Yogurt Dip


So, I recently saw a little post on Food52's Instagram with yogurt-covered raisins. There it was, and it included ingredients by name, but there were no measurements or instructions, and no recipe on their website either. 

Now, I would never say yogurt-covered raisins are an all-time favorite, but sometimes they might be what you "need"... as you might tell yourself. 
Although, thinking about them right now, they're sort of a strange food.
At the time I thought they sounded really good- especially imagining them with salted peanuts or tossed in as part of a nutty dried fruit trail mix.

Seeing everything covered in winter white might have been an extra inspiration.  


I can't say I crave white chocolate- mostly because it's overly sweet. Although there are times when it's not such a bad thing. It pairs nicely with buttery macadamia nuts, for instance.  Most of the time, I think that if you have white chocolate in a cookie, also having some dark chocolate helps to balance things out.

That said, yes, I am aware that white chocolate isn't chocolate because it doesn't have the cocoa solids. It's a different animal, and used for different purposes than dark chocolate much of the time.


Well, by no means are yogurt-covered raisins a health food. No way.
If someone chooses them over the chocolate-covered variety thinking they have some sort of an advantage, it's far from the truth. 
It's not only yogurt that covers those raisins. There's quite a bit of sugar, too. And there could be plenty of other stuff. 
(For instance, other recipes that I found included gelatin- not something I'm overly interested in for this particular application.)
The reason one really goes for them is their taste: a bit of yogurt-y tang cutting through some of that over-the-top sweetness.

As with that initial inspirational photo, the ingredients here are white chocolate, yogurt, and a touch of cream. While we could say there's plenty of junk in white chocolate, I would recommend when dealing with any type of "chocolate" (white, milk, or dark), look for something with 5 ingredients or less. Sugar, cocoa butter, vanilla, soy or sunflower lecithin (acting as an emulsifier) plus cocoa solids for the dark and milk for the white (well, milk chocolate has both, so in that case it's technically 6 ingredients). There are bean to bar makers that do not include the emulsifier- but I don't know that I would purchase something like that for cooking unless it was something very special, as the expense could potentially be a deterrent. 


White chocolate blended with yogurt helps to make the chocolate more "healthy" perhaps (while cutting some of the sweetness), and the yogurt more decadent.

Not a raisin fan at all?
Maybe dried cranberries could be dipped, or prunes could get half-coated.

If you're looking for something that would be more of an interactive dessert (a version of fondue?) pretzels or strawberries could possibly find their way into warm dip. 

Off camera, there were strawberries consumed with the white chocolate and yogurt.
And they were good. 
Though as a fresh fruit, I can say I would not recommend waiting for the dip to dry. Refrigeration however may be another story. Just make sure everything is dry before dripping. 
The same goes for pretzels: they'll likely become stale more quickly if you try to store them.

Perhaps add a little extra cream to facilitate pouring the dip as a sauce over a bowl of mixed berries? 


Yogurt-White Chocolate Dip
(covers about 2 cups of raisins)

1/3 c (70 g) Greek yogurt
4 oz (114 g) white chocolate
2 T (30 ml) heavy (whipping) cream
small pinch of salt

*Preliminary step
Place the yogurt in a fine mesh strainer or a piece of cheesecloth, suspended above a bowl in the refrigerator at least 2 hours to rid the yogurt of excess whey. The longer it drains, the shorter the time the raisins will require to dry. However, if you don't plan to use the dip as a dried coating, rather fresh and warm, you could probably skip this step completely.

Remove the yogurt from the refrigerator so it warms a bit before proceeding.
In a bowl over a small pan of gently simmering water (bain marie), place chopped pieces of white chocolate, the cream, and salt. Stir until just melted and smooth. Remove the bowl from the heat and let cool slightly, stirring a few times to help the heat dissipate. Add the yogurt and stir until completely incorporated.

If you plan to dip raisins, let the mixture cool a few minutes so that it thickens slightly. If you plan to use the dip with fresh fruit, you can do so at any time. 

To dip raisins:
Place several raisins at a time in the yogurt mixture. Using a fork, scoop the raisins out and remove excess dip by tapping the fork against the side of the bowl. A toothpick also comes in handy to scrape excess chocolate off the bottom of the fork. Place raisins on a parchment paper lined sheet pan, perhaps again using the toothpick to ease them off of the fork.
Let the raisins set and dry, undisturbed. When the tops are no longer tacky, ease the raisins off the paper so that the undersides can dry as well.


From start to finish, the drying time at room temperature took about 20-24 hours (that is, with the minimal 2 hour yogurt draining time). 

Store the dried raisins in an airtight container up to a week.

Wednesday, February 18, 2015

Snowy Day Sauerkraut


One of yesterday's projects...


Instructions here

Friday, January 23, 2015

Chocolate Hazelnut Madeleines


I decided to make this one a small(er) batch. While it can be a good thing to have something sweet around, it can also be a bad idea when they end up staring at you.
Better to have someone (or two) over to tea or coffee and share.
And besides, they're nicer within a day or two- another good reason not to make a huge batch.


When I first worked on this chocolate and hazelnut madeleine concept,  I only had one madeleine pan, which can be a bit of a nuisance when you have enough batter for 24 or more cakes. The pan is hot, you need to re-butter and dust the indentations...
They end up tasting great, sure, but the finish isn't quite as sharp on the lovely little shells.


I have since been (extremely) happily gifted a few madeleine pans from someone else who was going through their baking arsenal. She asked if I would like them, of course not knowing I was contemplating a purchase. The great thing about these is that they're used. They have a bit of character and a finish.


Well... I've made many variations of these over the past year or so.
Egg whites vs. whole eggs, with and without baking powder, increase some of this, decrease that, etc., etc.


Not to say that this will officially be 'IT'- I truly cannot promise that.
However, these aren't bad (and I don't think anyone would know they were gluten free, which certainly is a goal... and besides, it's kind of fun to experiment with different flours).


Chocolate Hazelnut Madeleines
Makes 12-18 (depending on the size of the moulds)

8 T (114 g) salted butter (or unsalted with a pinch of salt)
2 oz (57g) dark chocolate
1 T (15 ml) honey
1/4 c (20 g) hazelnut flour
2 T (18 g) tapioca flour
1 T (12 g) rice flour
1 T (8 g) corn starch
1 T (8 g) cocoa powder (plus extra for dusting the moulds)
1/4 t (2 g) baking powder
2/3 c (77 g) confectioner's sugar
2 large eggs 
1/2 vanilla bean, seeds scraped

Melt butter, chocolate, and honey together over low heat, or in a bain marie until just melted. Mix well to blend and set aside to cool until just warm.
In a bowl, blend together the hazelnut flour, tapioca flour, rice flour, corn starch, cocoa powder, and baking powder. Set aside. 
Using an electric mixer, beat the eggs with the vanilla seeds until frothy and slowly add the confectioner's sugar. Continue beating over medium-high speed several minutes until thick and pale. 
With the mixer running on low speed, steam in the warm chocolate mixture. Increase the speed and beat just until blended. 
Carefully fold in the flour mixture until the batter is uniform. 
Cover and refrigerate the batter 1 hour. 

Remove the batter from the refrigerator and preheat the oven to 375 F (190 C).
While the oven is heating, brush a madeleine mould with softened butter and dust with cocoa powder. Divide the batter among the prepared madeleine indentations. 
Bake the madeleines 10-15 minutes, or until the tops spring back when poked lightly.
Remove the pan from the oven and let cool about 5 minutes, then turn the madeleines out onto a rack to cool completely. 
Store any extras in an airtight container. 

Monday, December 8, 2014

Hot Toddies and Such


I wanted to go over a few more "fortified" cold-weather beverages here, beverages that can warm you from the inside in more ways than one (Irish Coffee has been covered).


A simple, Hot Toddy base has just a few ingredients, and you can dress it up from there to taste.

a shot of whiskey or bourbon= 1 oz = 2T = 30 ml
1T (15 ml) honey (or to taste)
boiling water

In a glass, mix the whiskey and honey, just to dissolve the honey a bit.
Top off with boiling water (6-8 oz or 177-236 ml) and stir to combine.

Add spices and citrus as desired:
Lemon slice
Orange slice
Cinnamon stick
A piece of fresh peeled ginger
A few whole cloves
A couple allspice berries

Let the mixture infuse with the spices a couple minutes prior to drinking. 


Hot toddies can be especially nice when you're feeling a bit under the weather.


Some other ideas:

Make it a Whiskey or Bourbon Cider- omit the honey and add hot cider to the bourbon along with spices as desired.

Hot Buttered Rum:
Now, I have no clue where the idea to add butter to a warm drink came from.
I'm hoping there was never anyone who said to themselves. "Gosh, a nice mug of warm butter sounds good right about now."
It has the potential to become a very slippery slope. One mug of butter leads to another, and then...?

Anyway, to make an individual hot buttered rum, blend 1 T (14 g) softened butter with 2 T (36 g) packed brown sugar along with a nice dash of cinnamon, a grating of nutmeg, and a touch of ground cloves if desired (plus a bit of salt if you're using unsalted butter here).
Place the compound butter in a mug, add about 4 T (60 ml) rum, and top off with boiling water. 
Stir and enjoy!

Granted, it's a little more decadent, more like dessert in a glass than a hot toddy, but sometimes that's what you need.

Tuesday, November 11, 2014

Prune-Cognac Chocolate Cake


Once upon a time I was thoughtfully gifted some rolled chocolate truffles set in tiny prunes.
And prunes soaked in Armagnac are a classic, nice either alone or served alongside chocolate cake.
I thought I'd go ahead and put them all together in some fudgy goodness.


Armagnac vs. Cognac vs. brandy.... well, it can be your preference here (or, of course, whatever you have available if you're going that route).
I will not attempt to pretend to be an expert on any of the above, though I can say that there's a difference in how Armagnac and Cognac are produced and distilled, as well as the regions of France where the two hail from.


The cake is dense, fudgy, somewhat boozy, deep and dark- a masculine chocolate cake if I may say so.
The booziness intensifies a bit as the cake sits, the flavors meld and the Cognac permeates the cake.


 If a piece is around to "test" the next day, you will likely be able to taste a difference.


And besides, who doesn't need a deep, dark, rich dessert as the weather gets colder?


Prune-Cognac Chocolate Cake
serves 12


1/3 c (80 ml) Cognac (or Armagnac or brandy)
2/3 c (100 g) prunes (dried plums), chopped
12 oz (340 g) dark chocolate (60-70%)
5 oz/10 T (142 g) unsalted butter
5 large eggs, room temperature
3/4 c (150 g) granulated sugar
1/2 t (2.5 ml) pure vanilla extract
1/4 t (2 g) salt


Preheat the oven to 350 F/ 175 C. 
Prepare a 10 inch (26 cm) springform pan by buttering the bottom and sides of the pan and wrapping a piece of large aluminum foil around the bottom and up the sides of the pan. If you do not have a large enough roll of foil, pleat two pieces of foil together to create a wider piece. 

Put a kettle or a pot of water on to boil as preparation for later baking the cake.

Chop the prunes into 6 pieces or so (roughly raisin-sized pieces) and place them in a small bowl. 
Pour the Cognac over the prunes and let them sit at least 30 minutes, stirring every now and then. 

While the prunes infuse, place the butter and chopped chocolate in a large heatproof glass or stainless steel bowl placed over a pan of simmering water. Make sure the bottom of the bowl does not touch the water, you only need an inch or two of water to melt everything. 

Once everything is melted, whisk the mixture together so that the butter and chocolate are emulsified. 
Remove the pan from over the top of the pan of water. 

In a separate, medium-sized bowl, whisk together the eggs, sugar, vanilla, and salt to combine.
Whisk the egg mixture into the melted chocolate mixture until everything is well-combined.
Fold in the soaked prunes and any extra liquid using a rubber spatula so that everything is blended throughout the cake batter.

Pour the cake batter into the prepared pan and place the pan inside a large roasting pan that will easily accommodate it.
Pour boiling water halfway up the side of the cake pan and cover the top of the cake pan with foil. 
Place the roasting pan in the preheated oven and bake about 50 minutes, until the cake is set. 

Carefully remove the roasting pan from the oven and remove the foiled cake pan from the roasting pan and onto a cooling rack. Remove the foil from the top of the pan as well as from around the bottom of the pan, being careful to remember that everything is still hot. 
Let the cake cool completely, remove the ring from the pan, and slice with a very sharp knife- making sure to rinse the knife in hot water between slices and wiping the knife dry before proceeding for clean cuts. 

Refrigerate any leftovers.