Saturday, April 30, 2011

Vin de Pêche


I thought I should probably post something about this since it's technically the name of my blog...
Besides, it's about the time for me to start making this again.
Vin de pêche is a very refreshing wine aperitif made with an infusion of peach leaves.
Not fruit, not pits, leaves.


It takes a little time to make, and can only be made in the spring when peach trees sprout delicate young leaves.
The wine is great served over crushed ice.
One, it's a strong beverage and the ice helps dilute it a tad. Two, it helps makes sure the drink stays cold and refreshing. Three, it lasts a little longer.


Ok, so here's the recipe I use... it's a based on David Lebovitz's recipe.

Vin de Pêche
makes about 1 qt.

1, 1L bottle rosé wine
60 unsprayed peach leaves, wiped clean with a damp cloth
3T brandy or Cognac
7T sugar

In a large glass container, combine the wine, peach leaves, brandy and sugar. The sugar probably won't dissolve immediately, but that's ok- it will after a day or two.
Place the container in the refrigerator and leave for ten days, shaking the container once daily. Taste the wine after ten days, if you think it needs a stronger peachy-almond flavor, let stand a little longer.
When ready, strain the wine into bottles, cork, and refrigerate.
Serve well chilled (with ice if desired).
It will keep at least six months in the refrigerator.


Monday, April 25, 2011

Almond-Lime Mini Travel Cakes


They're called "travel cakes" because they travel well. Picnics, trips, etc.


The original recipe called for St. Germain liqueur, which I didn't have and didn't feel like tracking down. However, I did find I wouldn't need to have it shipped from somewhere else...
I'm not always fond of flowery flavors. Still, I'm intrigued. I want to try it, I just never have. Maybe I'll order a cocktail with it one of these days.


Now that I've talked about St. Germain and you're not getting any, I should probably say something about what's in the actual recipe that I post here.


First of all, these cakes are really good.
You've got an intense cherry-almond flavor that's cut by a tart zingy lime burst.


To make sure the almond paste you use is gluten free, look for the information somewhere on the label, or check out the list of ingredients.


Solo brand almond paste is gluten free. Although the information is not printed on the can, it's listed in the FAQs on their website.


These petit-four sized cakes are not fluffy little morsels. They're moist, dense and a little chewy... like pound cake.


If you've got a pan that's shiny metal, not dark, it'll work better in this situation. I always prefer the shiny one, but I end up testing it anyway... I should know better.
I find the dark pans tend to turn cakes TOO dark. If that's what you've got to use, it would probably help to place a shiny (reflective) metal pan under the dark metal muffin tin when you place it in the oven.


If you happen to have two pans, go ahead and make one and a half recipes (since two 8-oz cans will pretty much yield that... and you don't end up having leftover almond paste).


Almond-Lime Mini Travel Cakes
makes 24
Adapted from Food and Wine- May, 2011

Cake:
10 oz almond paste, broken into approximately 1-inch pieces
3 large eggs
zest of 1 lime
2 1/2 T cornstarch
pinch of salt
5 T unsalted butter, melted and cooled
1 T freshly squeezed lime juice

Icing:
2 c confectioners' sugar
2 1/2 T heavy cream
2 T Cointreau (or orange juice)
1 T freshly squeezed lime juice
zest of 3/4 lime

Preheat the oven to 350 degrees F and spray 24 mini muffin tins with vegetable oil spray (some pans come in 12s others in 24s). In a food processor, pulse the almond paste until it is broken down into small pieces. Be careful not to over-pulse or the almond paste will become oily. Add the lime zest and eggs and pulse until smooth. Add the cornstarch and salt and pulse until smooth. Add the butter and lime juice and pulse until incorporated.
Divide the batter among the prepared muffin cups. Bake for 18-20 minutes, or until the edges are golden and the top springs back when lightly poked.
Place the pan on a rack to cool for 10 minutes and then pop the cakes out of the pan to cool completely.
When the cakes are cool, mix all the icing ingredients with a whisk in a medium-sized bowl until smooth. Spoon the icing over the cakes, letting it drip attractively down the sides.
If you happen to feel the need to store any, place them in a single layer in an airtight container.

(*If you don't have a mini muffin tin, you can use a regular-sized muffin tin- just adjust the baking time.)

Wednesday, April 20, 2011

Fish Tacos and Black Beans


Fish tacos are refreshingly different.
Well, in the midwest they're refreshingly different.
AND they're simple.


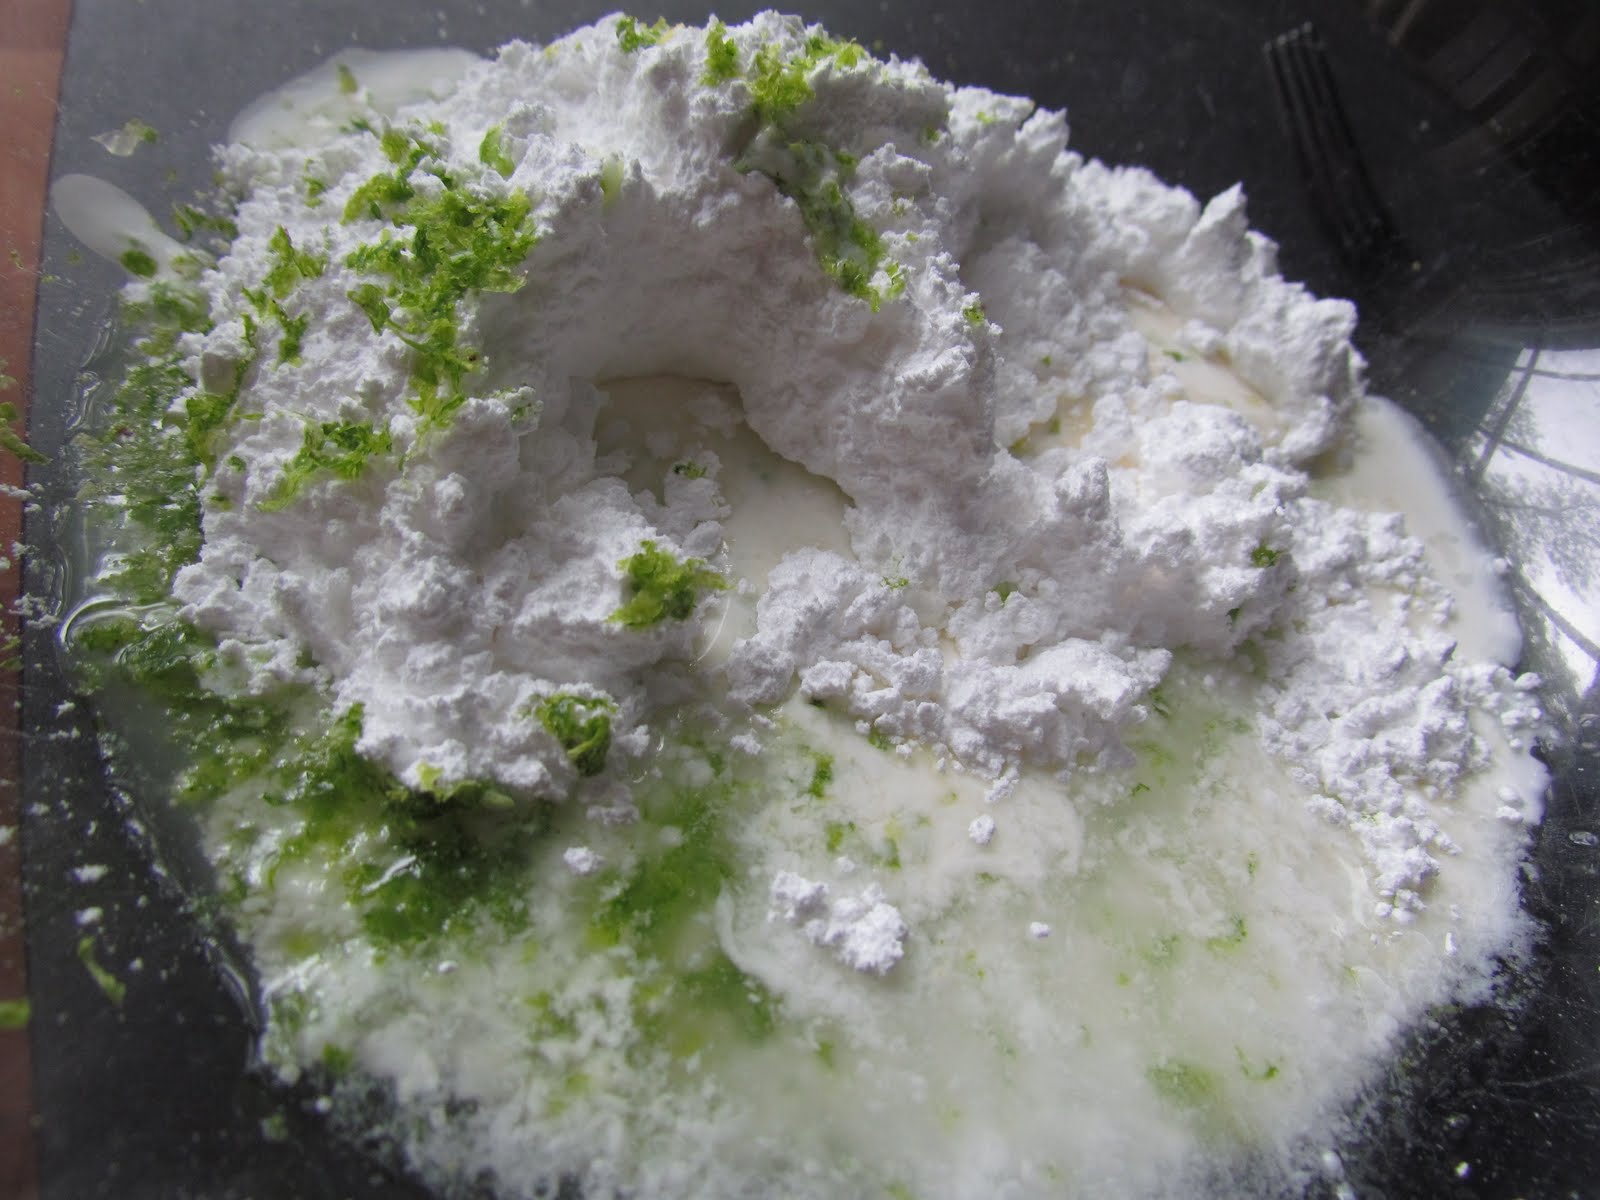
One surprise is the slightly sweet and very crunchy raw cabbage.
Here in the US it's not as common as lettuce, but cabbage is more traditionally used in Mexico (I think because it'll stay crisp and is less likely to wilt in the hot weather).
Don't let the fact the cabbage is in a taco be off-putting to you. It's good, and NECESSARY, just try it...


I can admit I was never really a corn tortilla fan. That is, until I was in Mexico one time and we ate freshly made corn tortillas every day (from one of the tortillarias down the road) with a warm toasty-sweet roasted corn smell and flavor.
For a snack in the afternoon we ate these fresh tortillas with a liberal smear of good ripe avocado, a sprinkle of salt, and a spray of fresh lime juice.
Strangers can sometimes teach you amazing things.


That said, there's a huge difference between good tortillas and bad ones. More often than not, the corn tortillas here are far surpassed by flour tortillas. Then again, they're all packaged.


One quick corn tortilla tip: if you give them a quick spray on both with cooking spray (PAM, olive oil spray, whatever), throw them on a pan (they can be stacked several high if you need to), and bake for about 3 minutes at 350, they'll cooperate much better than if you try to use them straight out of the package.
They become warm and pliable- much less likely to crack or break into pieces, and nicer to eat.
You could brush on the oil, I suppose, but the spray will give you such a nice LIGHT layer of oil.


As for the suggested (NECESSARY) accompaniments, to me, things just don't taste quite right if I don't have a little of everything on my list.


However, since corn tortillas are generally fairly small, you have to be careful to resist the temptation to overfill the tortilla. You want to be able to actually hold the taco without it falling out all over the place and/or breaking.

P.S. More than a year later...
There's an updated version of the tacos here (I even like it better).

Fish Tacos
serves 4-6

2 lb. cod filets or other firm, mild white fish, cut into short strips
Olive oil
3 T soy sauce
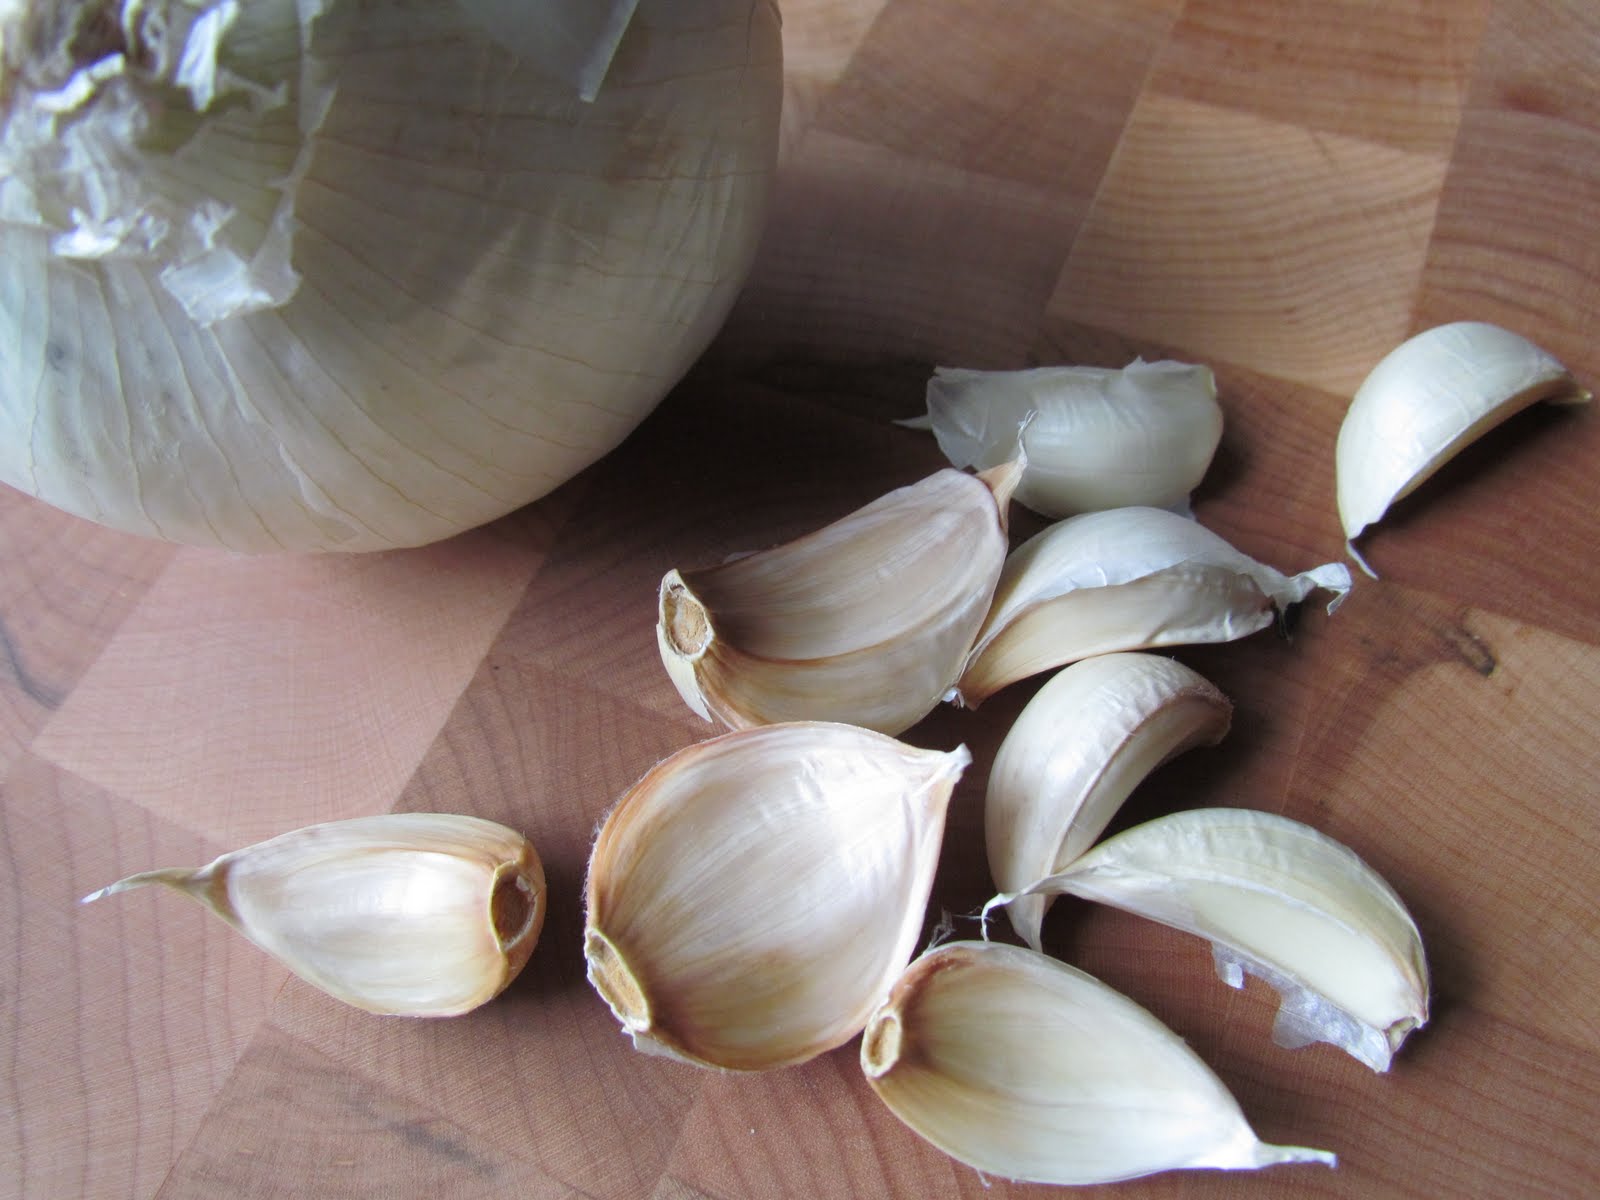
2-3 cloves garlic, minced
1/4 t cayenne pepper

NECESSARY Accompaniments:
Corn tortillas
Cabbage, sliced/shredded
Diced fresh tomatoes and salsa (verde or regular tomato salsa)
Avocado, sliced
Fresh limes, halved lengthwise and then quartered
Fresh cilantro, roughly chopped

Optional Accompaniments:
Sour cream
Shredded cheese (Monterrey Jack, Cheddar, or a Mexican blend)

Place the fish in a large bowl.
In a small bowl mix soy sauce, garlic, and cayenne pepper. Pour the sauce over the fish and mix gently, set aside.
In a large frying pan, heat 1 T olive oil over medium heat until it shimmers. Add the marinated fish and cover. Cook about 5 minutes and check for doneness.
Place fish and all other desired accompaniments on a warmed corn tortilla. Squeeze on a little lime juice and eat.


Black beans are a great side for the meal or as an additional accompaniment used in the tacos.
Actually, I think they're important.


This is how I like to make them.

Black Beans
makes about 6 cups

1 lb. dried black beans
6 c. water
2 T extra virgin olive oil
1 1/2 T minced garlic
1 large white onion, diced
2 t kosher salt
Large dash cayenne pepper (optional)
Cilantro stems (optional)

Rinse and sort black beans to remove dusty residue and any possibility of pebbles.
Place beans, water, olive oil, garlic, onion, salt, and cayenne pepper in a large pot and bring to a boil. Lay the cilantro stems (if using) on top. Cover with a well-fitting lid and turn down the temperature to low so the bean mixture simmers. Check the beans a few times and stir gently during the cooking process.
Simmer about 2 hours, until the beans are soft and most of the water has been absorbed. Remove the cilantro stems, and with a potato masher or the back of a large spoon partially mash and stir the beans. Taste and re-season as necessary.
The beans will thicken a bit as they sit and will be easier for serving.

Monday, April 18, 2011

Pasta Primavera


I know I can't speak for everyone, but sometimes I just want vegetables. Of course, it wasn't always that way.
I had an older, wiser cousin who taught me and my older sister how to discreetly get rid of broccoli in a napkin once when we were at Grandma's. How convenient.
It didn't work though... the one and only time I tried (that same fateful and educational day) I think I was caught.


Many kids aren't that interested in veggies and perhaps have a nightly battle of the wills with a parent or two. The kid will be stuck sitting at the table until they finish the hated vegetable, a few bites of the vegetable, or until the parent caves and the child is freed from the confines of their chair.


I'm sure this happened on occasion to me, but it was probably never an extreme case. I can't say it was really worth it.


The real fruit and vegetable desire happened around the time I was in college.
For the most part, many college dorm cafeterias leave something to be desired in the produce department. In fact, many are notorious for their not-so-great food. And so, when I was home I really wanted FRESH fruit and vegetables.


Pasta Primavera is full of fresh vegetables, and so colorful.
This can be soooo good, and will be best if you make sure to take your time so that the broth reduces and the flavor intensifies.


The quickest way to reduce is to make sure you're using a pan that's as wide and shallow as possible to make sure that evaporation will happen easily. Really- it works better.
Greater surface area for the heat distribution will save time and frustration.
As a dutch oven, the pan I used this time around would not be classified as shallow.


And (Maisie) it can easily be made gluten-free if you just make sure the broth and pasta you choose are gluten-free.


Pasta Primavera

3 1/2 c vegetable stock
6 sprigs fresh thyme
Kosher salt
2 c carrots, peeled and thinly sliced into rounds
1 lb asparagus, tough ends removed and chopped into 1 inch pieces
2 c zucchini or yellow squash, cut in a large dice
1 red bell pepper, cut into strips and chopped into 1 inch pieces
1 c peas, fresh or frozen
1 1/2 lb. dried pasta
4 T butter
Freshly ground black pepper
2 c freshly grated Parmesan cheese, plus more for serving

Bring a large pot of salted water to a boil. Salt the water and cook the pasta per package instructions until al dente (I usually undercook just a little because the pasta will continue cooking with the sauce later).
While the pasta is cooking, in a large saute pan bring 2 cups of the stock to a boil. Add the thyme and a little salt. Add the carrots and cook for three minutes. Make sure the stock continues to boil before you add each additional vegetable. Add the asparagus and cook for 2 minutes. Add the zucchini and bell pepper and cook for 3 minutes. Add the peas and cook until all vegetables are just barely tender. By this time most of the stock should have evaporated. Add the butter and cook over medium heat for a minute and then add the remaining stock. Cook until all the vegetables are tender but not mushy.
Drain the pasta in a colander and toss it with the vegetables and broth. Cook for a minute or so of the broth seems a little soupy. Taste and season with salt and pepper. Toss with 2 cups of Parmesan to help thicken the sauce.
Serve the pasta with additional Parmesan.

Wednesday, April 13, 2011

Vanilla Pots de Crème


Vanilla is a great flavor, especially if it's the real thing...


This little dessert has a rich, robust, and luxe vanilla flavor, but in a very concentrated dose.


Plain, simple, beautiful.


Adapted from Joël Robuchon's version

Petit Vanille Pots de Crème
makes 5

1/2 c whole milk
1 c heavy cream
1/2 vanilla bean (cut across the bean, save the other half for later)
1/3 c sugar
3 large egg yolks
pinch of salt
1/2 t vanilla

Rinse a medium saucepan under cold running water and empty, but DO NOT DRY.
Cut the half vanilla bean in half lengthwise and scrape out the seeds. Place the milk, cream, vanilla seeds, and empty vanilla pod in the saucepan. Heat the mixture until almost boiling, remove from the heat and cover. Leave alone to infuse 30 minutes.
Place the yolks and sugar in a bowl and beat until broken up. Whisk constantly and slowly pour in the vanilla milk, a little bit at first to help "loosen" the thick yolk and sugar mixture. Pour the mixture through a strainer, remove the bean (rinse, let dry, and save for later... perhaps place in a sugar bowl or shaker to flavor), and add the vanilla extract. Let the mixture rest 1 hour.
Preheat oven to 350 degrees F.
Divide the mixture among 5 ramekins, and place the ramekins in a 9x13 inch dish. Pour boiling water into the pan halfway up the sides of the ramekins.
Cover the whole pan with plastic wrap and bake about 25 minutes (the custards should be jiggly). Remove the ramekins from the water, cool at room temperature, cover individually with plastic wrap and refrigerate at least 2 hours.
Serve well chilled.