
Only the best intentions, of course.
And really, don't you sometimes need two-tart days?

The initial plan was to make and post a strawberry rhubarb tart. I'd been thinking about it for quite a while as it's the right time of year and one of the best fruit combinations (well, fruit and veg)... but I was very sadly unable to accomplish everything I had a mind to, due to a lack of time and waning light.
Plus the fact that I dropped my camera and had to run out to replace that particular lens- my favored and more useful lens. The worst part was that it wasn't even an impressive fall- only 12 to 18 inches. I guess the angle was just right to do the job.
It wasn't the glass of the lens that broke, it was something on the inside.
I finally had a chance to work on a blog post, with an attempt to squeeze more than one in for today to get some things done, and to have something to put away for another day.
Maybe it was haste that caused the little mishap. Admittedly, any time gained certainly didn't end up helping in the long run.

(As a side note, and on the nicer end of things, today the peonies are beginning to bloom. And they smell like lovely lemony roses.)

The chocolate-hazelnut tart was begun and finished first. Photos and all.
There was, however, a break during refrigeration to make the lens switch.
I suppose that was the way things went as I knew the tart had to be chilled several hours before it could be finished and plated. Best to get that one taken care of earlier.

By the time I got around to the strawberry rhubarb, the lighting wasn't great for my purposes, and it would just keep declining. Although there are no photos for you, I can report that I got a practice round accomplished. Maybe sooner rather than later I'll get a version perfected and photographed, then be able to post it.
I'm not saying this alternative is a bad thing. No way am I saying that.
The chocolatey goodness we have here is much like a candy bar in tart form, though perhaps a bit more refined. It turned out to be a belated Mother's Day treat.

It's nice, but it's rich, and best eaten cold and in smaller slices. Silky chocolate and crispy caramel hazelnuts- what a fantastic combination!
... And a thin crunch on top.

I guess the other tart was technically the "healthy" one.
And being that two tart kind of day, though perhaps not the quota, everyone DID get some fruit and vegetables.
Chocolate Hazelnut Brûlée Tart
(based on a recipe by Maja Vase at www.chocolat.dk)
serves 10-12, or more
1 large egg white
1/2 c (50 g) confectioner's sugar
1 2/3 c (175 g) hazelnut meal
3/4 c (100 g) whole hazelnuts
1/3 c plus 2 T (100 g) granulated sugar
large pinch of salt, plus a little extra fine sea salt
8.8 oz (250 g) good semi-sweet chocolate
1 c (250 ml) heavy cream
2 T (50 g) glucose syrup or corn syrup
2-3 T (30-45 g) granulated sugar, for caramelizing top of the tart
In a medium bowl, whisk the egg white until frothy. Add the confectioner's sugar and whisk again a couple minutes until slightly thickened and well blended. Stir in the hazelnut meal until fully combined. Tip the crust mixture out into a 9 inch tart pan with a removable bottom (you may want to spray or butter the bottom and line it with a round of parchment paper for later ease in serving). Carefully and evenly press the dough out across the bottom and up the sides of the tart pan.
Refrigerate the prepared tart pan about 10 minutes.
Preheat the oven to 375 F/190 C.
Dock the bottom of the tart crust all over with a fork.
Place the tart pan on a sheet pan and bake 15-20 minutes, until completely set and lightly browned. Set the pan aside on a rack to cool completely.
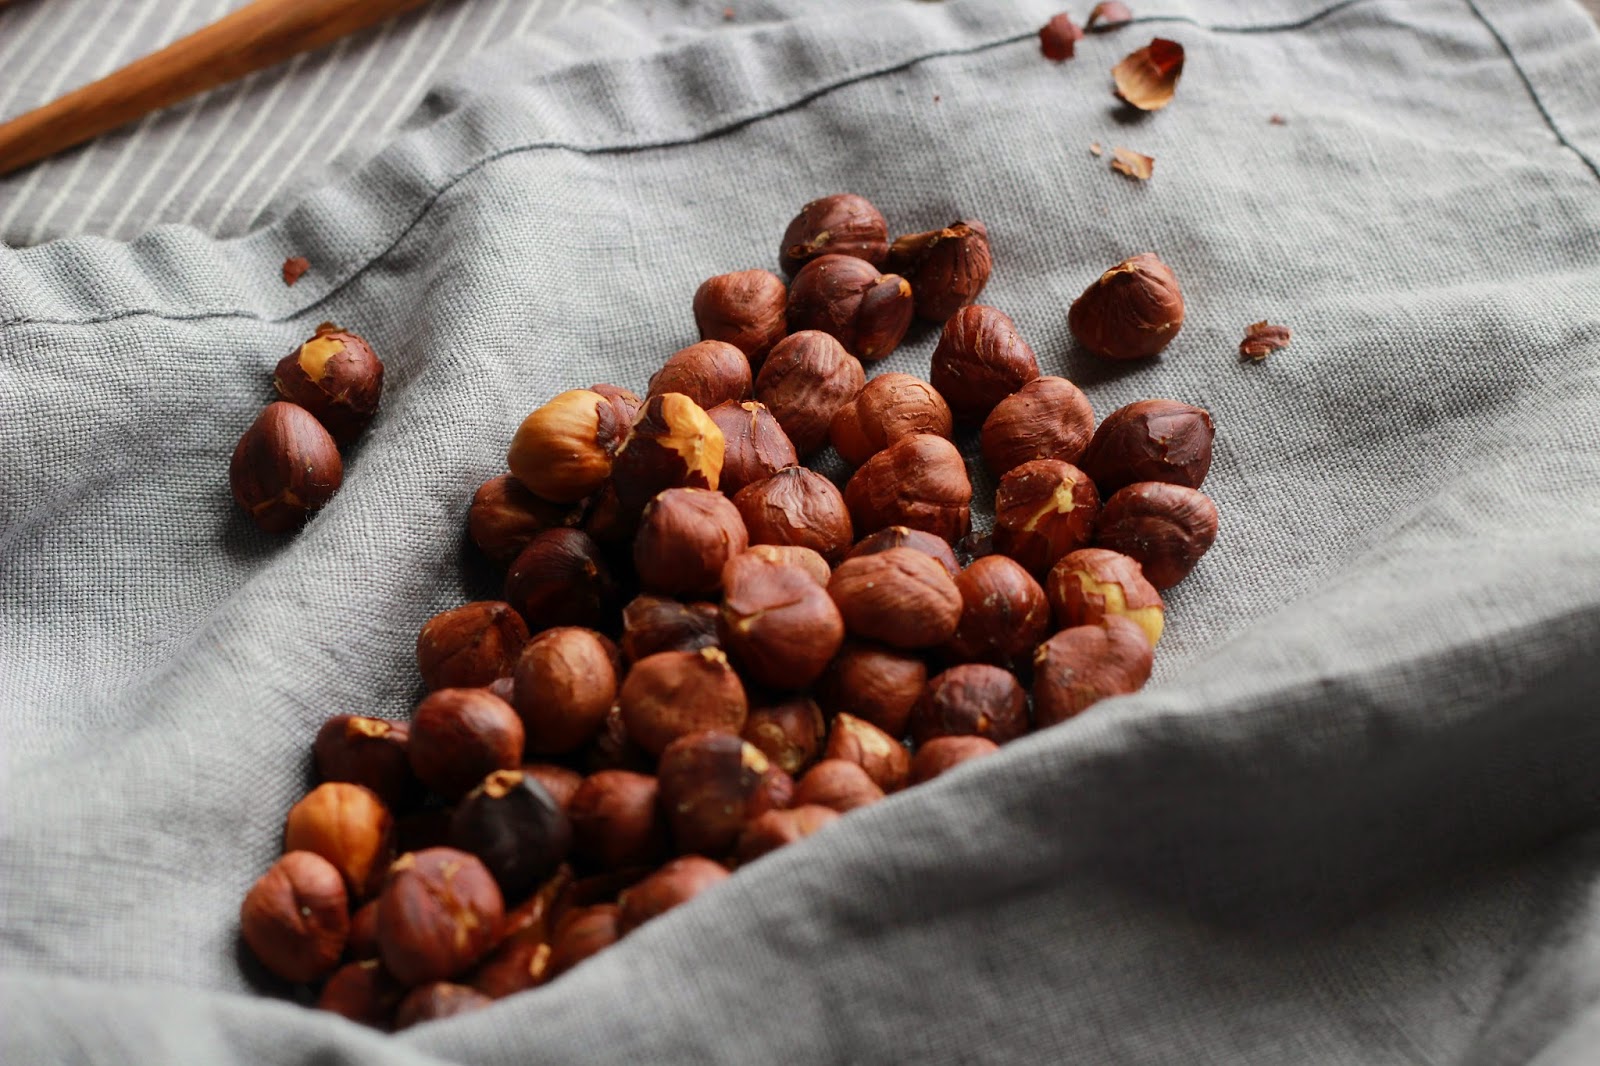
While the tart shell bakes (or cools), prepare the hazelnuts. Place the hazelnuts on a pan in a 400 F/ 200 C preheated oven. Toast the hazelnuts 5-7 minutes, shaking the pan once or twice to toast evenly. Remove the pan from the oven and let the nuts cool slightly. When the hazelnuts are cool enough to handle, place them in a dishtowel and rub them with the towel to remove most of the skins.
Place the skinned nuts on a cutting board and chop coarsely. Let cool completely.
In a saucepan or small frying pan, melt the sugar with the large pinch of salt over medium heat. Shake the pan occasionally, and if you must, use a spatula to redistribute the sugar so that it melts and caramelizes evenly. When the sugar is a deep amber, remove the pan from the heat and add in the chopped hazelnuts. Quickly stir the nuts and caramel, so that everything is coated evenly. Tip the caramelized hazelnuts onto a sheet pan lined with parchment paper. Cool completely, then chop coarsely. If you choose, sprinkle with a little fine sea salt and toss to combine.
In a heatproof bowl, place the chocolate, cream, and syrup, and set the bowl over a pan of simmering water, making sure the water does not touch the bottom of the bowl. Stir occasionally until everything is melted, smooth, and well-combined. Remove the pan from the heat and very carefully remove the bowl from over the simmering water.
Scatter the chopped, caramelized hazelnuts evenly across the bottom of the tart pan. Pour the warm ganache over the nuts and spread carefully so that the top is relatively smooth, all the crevices are filled, and the nuts are covered. Lightly rap the pan on a counter a few times to dislodge any bubbles.
Refrigerate the tart at least 3 hours.
To brûlée:
This step is not strictly necessary, but it certainly adds a nice touch.
Remove the set and cold tart from the refrigerator and sprinkle the top evenly with 2-3 T granulated sugar. Using a torch, carefully melt and lightly caramelize the sugar. Return the tart pan to the refrigerator 5-10 minutes to set the sugar and re-cool the top of the tart.
Slice the tart with a sharp knife and serve.
*If you have a 10 inch tart pan instead of 9 inches, you can keep most everything in the recipe the same, however, I recommend increasing the chocolate to 10.8 oz/300 g and the cream to about 1 c plus 3 T/300 ml. And please be a little more ginger when pressing the crust into the pan. It covers the pan just fine, you just need to be a little more gentle with it as it will be a tad thinner.
I've made it both ways, and both turn out well!


As a very late note, I have made this multiple times using full-fat coconut milk instead of cream, and it turns out just fine... if anyone is looking for a dairy-free and ALMOST vegan version
ReplyDelete